A PRACTICAL HANDMADE PROJECT
Make a Double Running Stitch Sampler
Double running stitch fills the gaps of a first running-stitch line on the return pass. A straight guide makes it easy to see the pattern.
Start with your materials ↓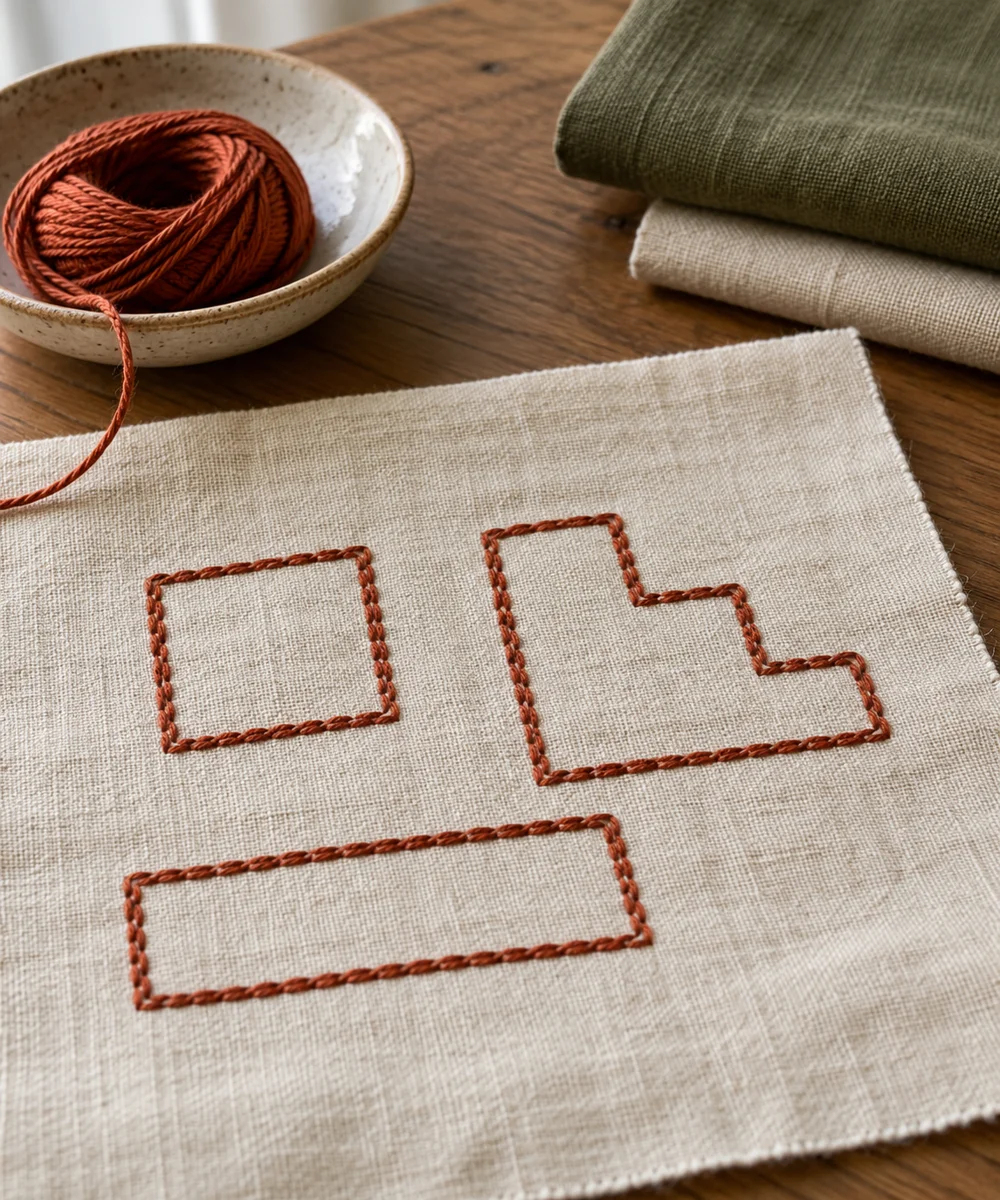
WHAT TO GATHER
Your starting kit.
- Fabric scrap
- Needle
- Thread
- Removable marker
STEP 01
Prepare the starting piece
Draw a simple straight or stepped geometric line on stable cloth. Choose a tested removable marking method and a manageable thread length.
STEP 02
Set out the shape
Work a row of running stitches with equal stitches and gaps. Leave the fabric flat and note which holes mark the ends of each gap.
STEP 03
Work the first section
At the end, turn back along the same line. Insert the needle into existing holes to cover each previously empty gap.
STEP 04
Build and adjust
Keep the return stitches beside the original path without splitting the first thread. Ease the tension so the two passes do not gather the cloth.
STEP 05
Finish and check
Secure the thread on the back and compare both faces. Try a second sample with a simple right-angle turn after the straight line feels comfortable.
Before you begin.
What should I check before beginning?
Draw a simple straight or stepped geometric line on stable cloth. Choose a tested removable marking method and a manageable thread length.
What is the main practical tip for this project?
Reusing the same holes gives a tidier line than creating a second slightly offset path.
Original editorial project guidance. Images are AI-generated concepts, not photographs of tested finished projects. Practice on inexpensive materials and follow tool and material instructions. Sources & approach.
Save to Pinterest ↗KEEP THE THREAD GOING


