A PRACTICAL HANDMADE PROJECT
Make a Fabric Scrap Ribbon Bundle
Fabric strips can replace disposable ribbon for ordinary wrapping and craft organization. Choose stable material and keep the strips short enough to manage easily.
Start with your materials ↓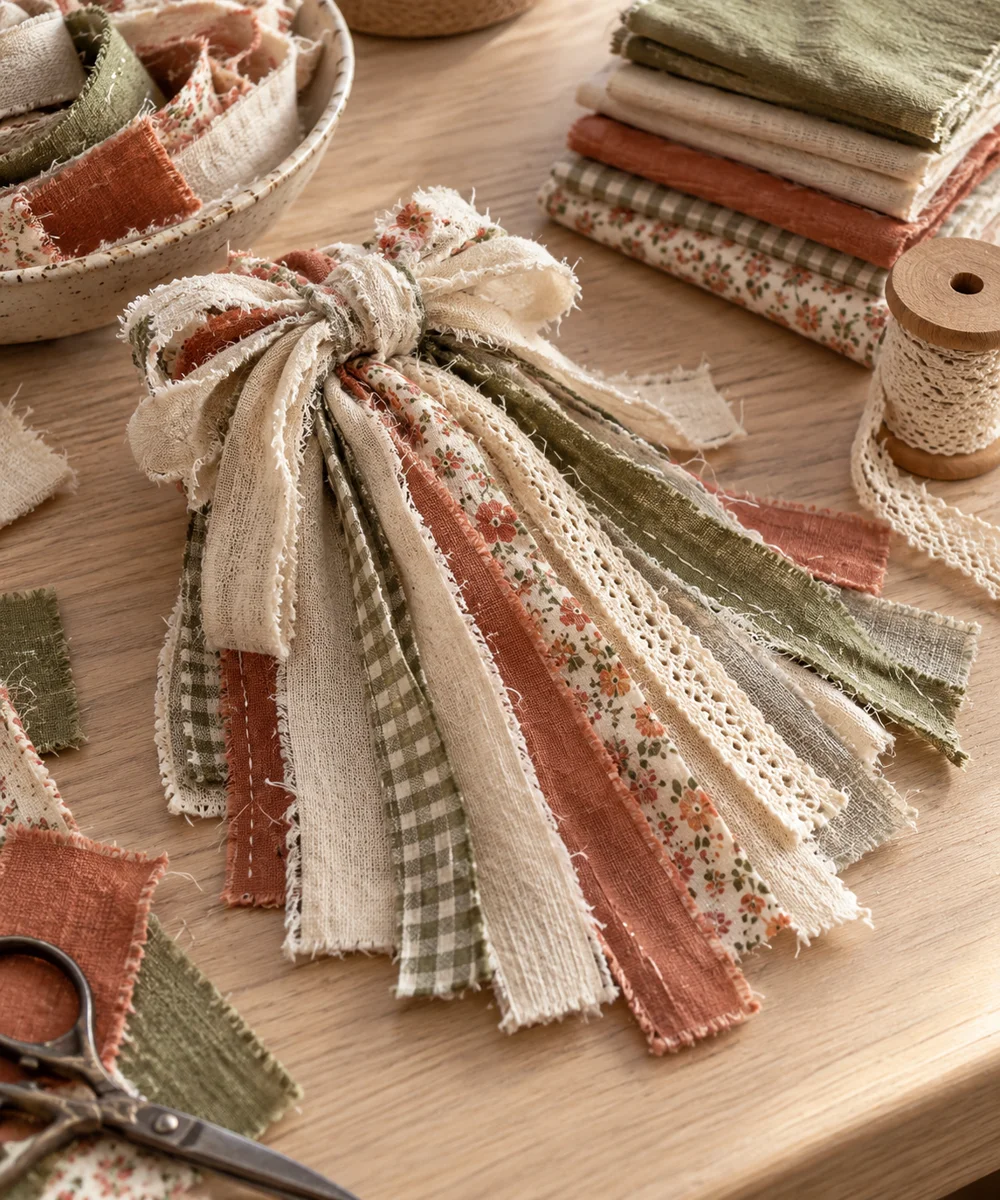
WHAT TO GATHER
Your starting kit.
- Clean woven fabric scraps
- Scissors
- Ruler
- Short cotton tie
STEP 01
Prepare the starting piece
Sort clean scraps by fabric weight and remove bulky seams. Test that the color will not transfer to the object you intend to wrap.
STEP 02
Set out the shape
Cut several strips along the length using a ruler as a guide. Use the same width for a tidy bundle or separate clearly different widths.
STEP 03
Work the first section
Trim loose fibers gently and inspect the edges. Some woven fabric will fray; choose another material if it sheds excessively.
STEP 04
Build and adjust
Roll the strips loosely and secure the bundle with a short tie. Label the storage container with the approximate widths for later selection.
STEP 05
Finish and check
Use the strips for lightweight presentation wraps, supporting packages from below. Avoid long loose loops and never use them as load-bearing straps.
Before you begin.
What should I check before beginning?
Sort clean scraps by fabric weight and remove bulky seams. Test that the color will not transfer to the object you intend to wrap.
What is the main practical tip for this project?
Fabric ribbon is a decorative tie, not a substitute for tested handles or safety fasteners.
Original editorial project guidance. Images are AI-generated concepts, not photographs of tested finished projects. Practice on inexpensive materials and follow tool and material instructions. Sources & approach.
Save to Pinterest ↗KEEP THE THREAD GOING