A PRACTICAL HANDMADE PROJECT
Make a Flat Fabric Book Cover
A removable fabric book cover protects an ordinary notebook from light wear. Measure the actual book open so the spine has enough room to move.
Start with your materials ↓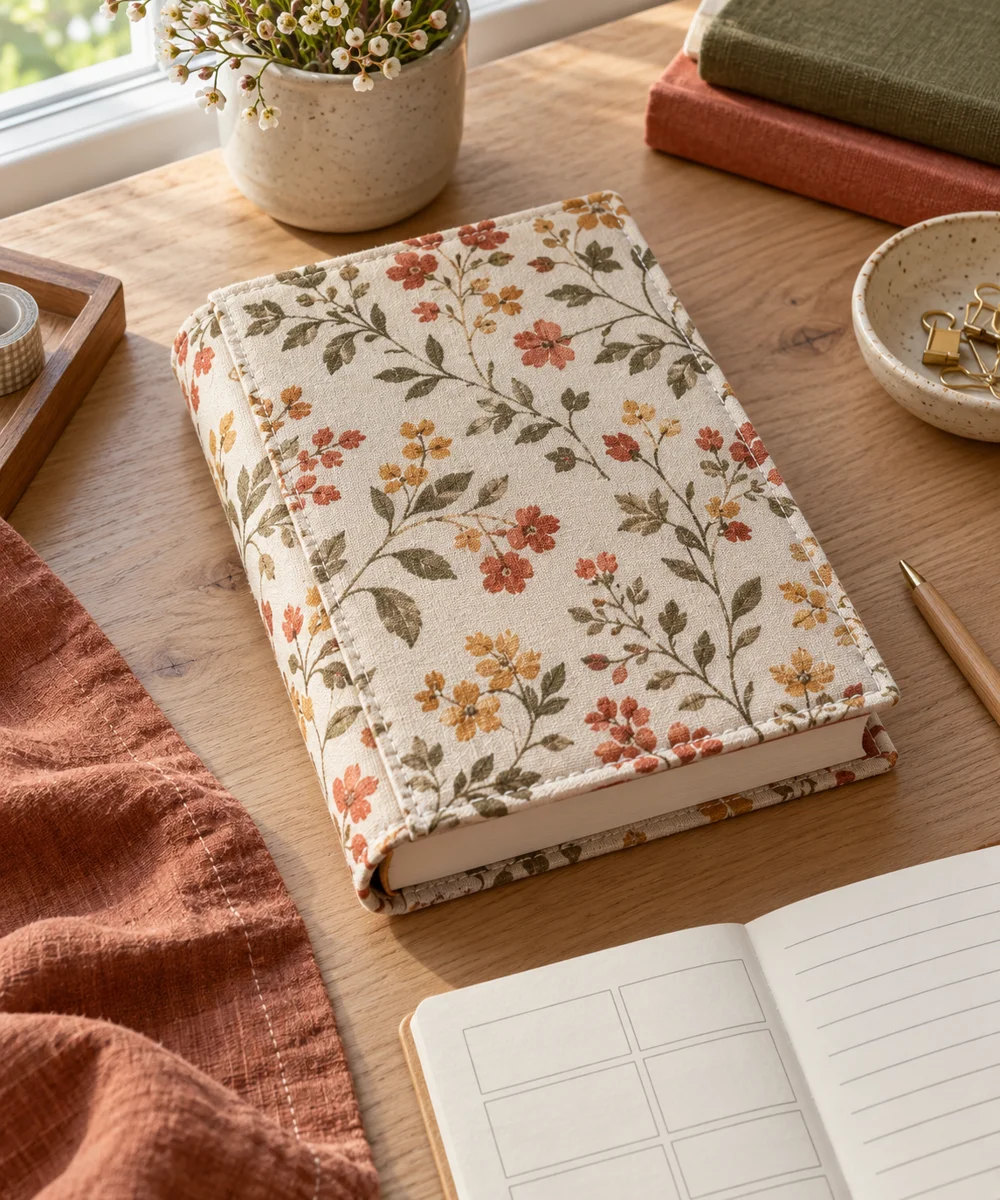
WHAT TO GATHER
Your starting kit.
- Thin woven fabric
- Notebook
- Needle
- Thread
- Measuring tape
STEP 01
Prepare the starting piece
Lay the open notebook on fabric and measure its full width and height. Add room for hems and generous cover flaps without pulling the binding.
STEP 02
Set out the shape
Cut a rectangle and hem all edges. Test the fit around the closed and open notebook before fixing the flap positions.
STEP 03
Work the first section
Fold each short end inward to form a cover pocket. Mark the pocket depth while leaving a little slack beside the spine.
STEP 04
Build and adjust
Stitch only the top and bottom edges of each pocket, keeping their inner edges open. Secure the seams and remove loose threads.
STEP 05
Finish and check
Slide the notebook covers into the pockets and open it gently. Adjust a tight fit and remove the sleeve before washing or drying it.
Before you begin.
What should I check before beginning?
Lay the open notebook on fabric and measure its full width and height. Add room for hems and generous cover flaps without pulling the binding.
What is the main practical tip for this project?
Avoid buttons or thick decorations that can press into pages or make the notebook uncomfortable to use.
Original editorial project guidance. Images are AI-generated concepts, not photographs of tested finished projects. Practice on inexpensive materials and follow tool and material instructions. Sources & approach.
Save to Pinterest ↗KEEP THE THREAD GOING