A PRACTICAL HANDMADE PROJECT
Make a Project Cost Worksheet
A project cost worksheet separates materials you buy from supplies already owned. It is a personal record rather than a pricing or tax recommendation.
Start with your materials ↓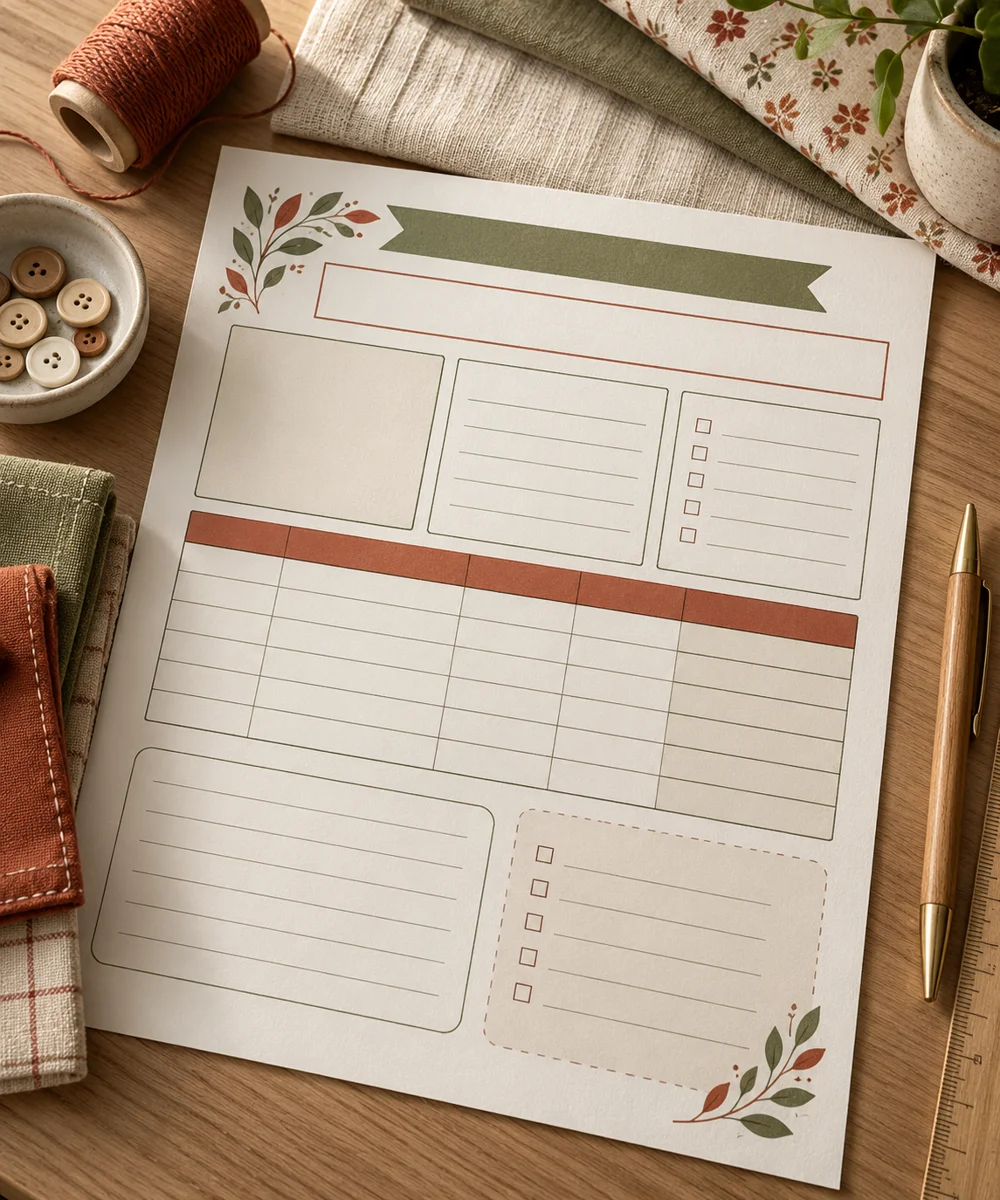
WHAT TO GATHER
Your starting kit.
- Notebook
- Pencil
- Ruler
- Your project receipts
STEP 01
Prepare the starting piece
Write the project name and the quantity you intend to make. Note whether you are recording a full purchase or only the portion used.
STEP 02
Set out the shape
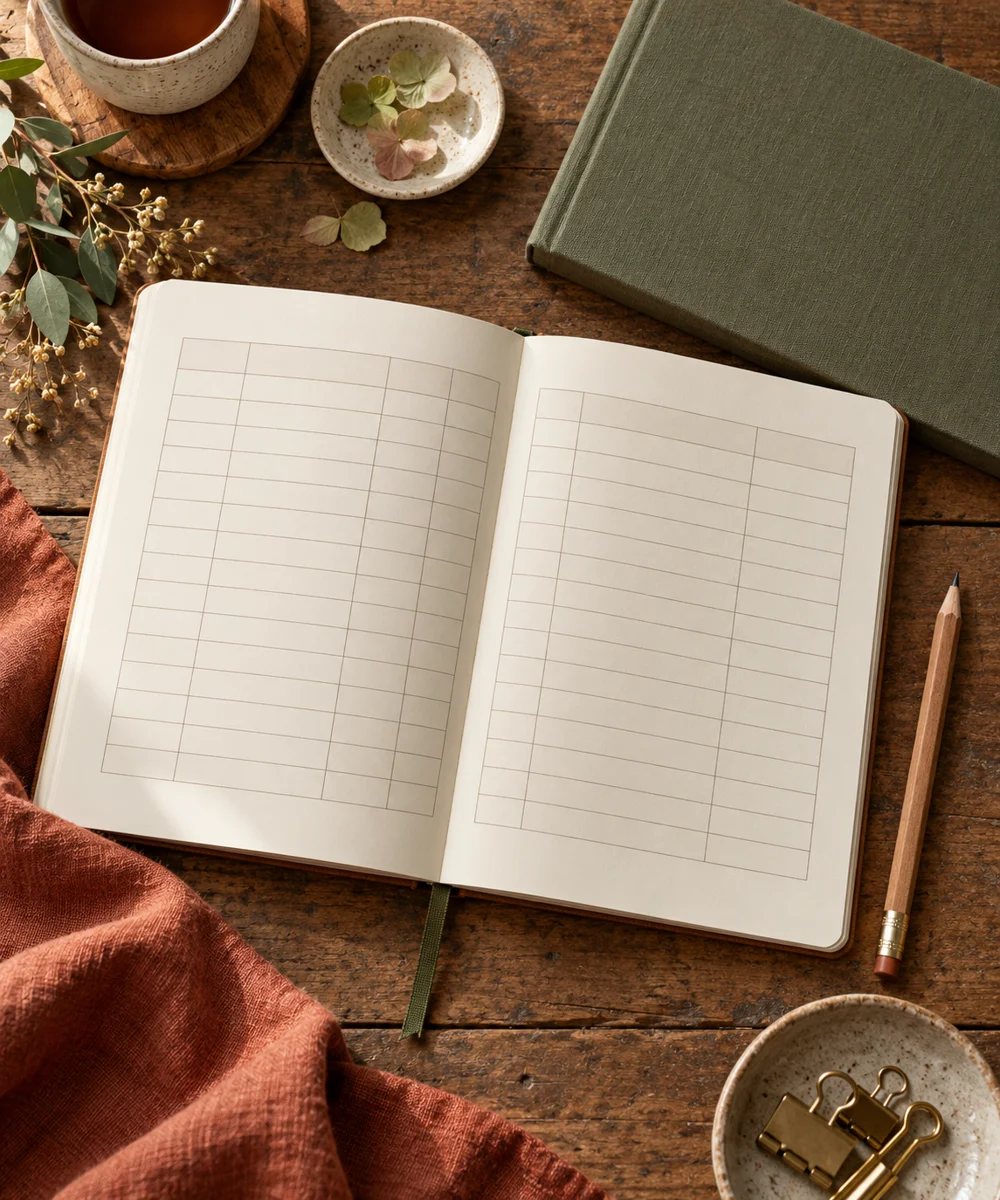
Create rows for material, purchased amount, purchase cost, and project share. Keep the currency consistent and mark estimates clearly.
STEP 03
Work the first section
Enter amounts from your own receipts where possible. Record shipping or other costs separately rather than silently spreading them across unrelated projects.
STEP 04
Build and adjust
Add a section for time spent if that information helps your planning. Use actual observations rather than assuming every later item takes the same time.
STEP 05
Finish and check
Check the arithmetic and compare estimates with the final purchases. Retain a note explaining shared materials so totals remain understandable later.
Before you begin.
What should I check before beginning?
Write the project name and the quantity you intend to make. Note whether you are recording a full purchase or only the portion used.
What is the main practical tip for this project?
Material costs alone do not establish a selling price, profit, or the tax treatment of a project.
Original editorial project guidance. Images are AI-generated concepts, not photographs of tested finished projects. Practice on inexpensive materials and follow tool and material instructions. Sources & approach.
Save to Pinterest ↗KEEP THE THREAD GOING