A PRACTICAL HANDMADE PROJECT
Make a Removable Fabric Jar Sleeve
A removable fabric sleeve adds a plain textile accent to a dry storage jar. It is intended for lightweight craft supplies and does not insulate hot glass.
Start with your materials ↓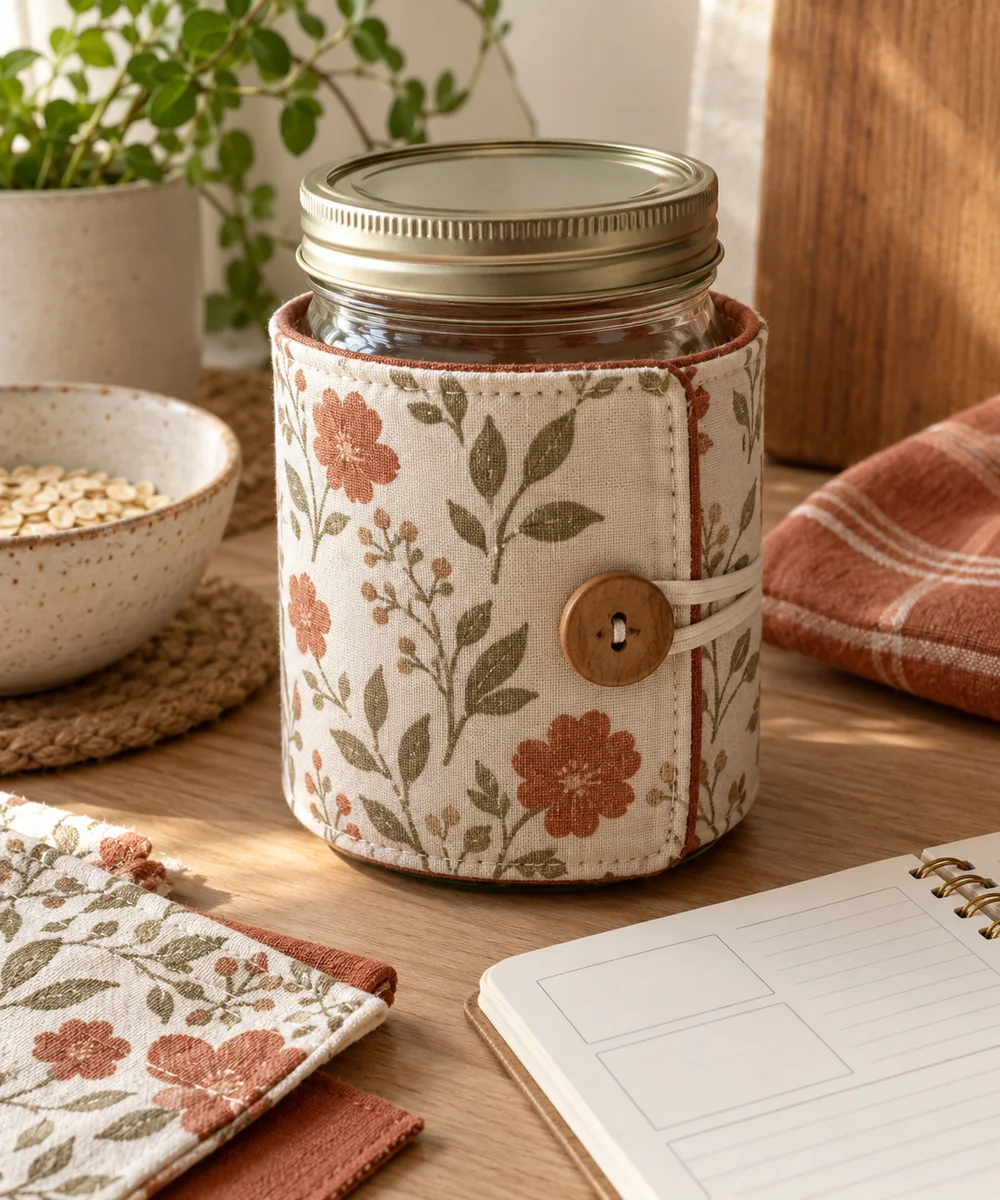
WHAT TO GATHER
Your starting kit.
- Clean dry empty jar
- Thin fabric strip
- Needle
- Thread
- Ruler
STEP 01
Prepare the starting piece
Inspect a clean empty jar for chips and cracks. Use only a sound jar and avoid sharp damaged rims or containers that held hazardous materials.
STEP 02
Set out the shape
Measure around its straight section and cut a fabric strip with seam and hem allowances. Keep the sleeve below the lid and away from the base edge.
STEP 03
Work the first section
Hem the long fabric edges with small stitches. Join the short ends to form a loop that slides on without stretching the cloth.
STEP 04
Build and adjust
Slide the sleeve onto the dry jar and check it stays comfortably in place. Adjust the seam if it slips or requires excessive force.
STEP 05
Finish and check
Use for ordinary dry craft storage on a stable shelf. Remove the sleeve before washing and do not use it with candles, hot contents, or electrical devices.
Before you begin.
What should I check before beginning?
Inspect a clean empty jar for chips and cracks. Use only a sound jar and avoid sharp damaged rims or containers that held hazardous materials.
What is the main practical tip for this project?
A fabric sleeve can hide damage, so remove it periodically to inspect the glass.
Original editorial project guidance. Images are AI-generated concepts, not photographs of tested finished projects. Practice on inexpensive materials and follow tool and material instructions. Sources & approach.
Save to Pinterest ↗KEEP THE THREAD GOING