A PRACTICAL HANDMADE PROJECT
Make a Running-Stitch Fabric Label
A running-stitch label adds a small geometric border to an ordinary fabric item. This version uses a simple blank panel without printed branding.
Start with your materials ↓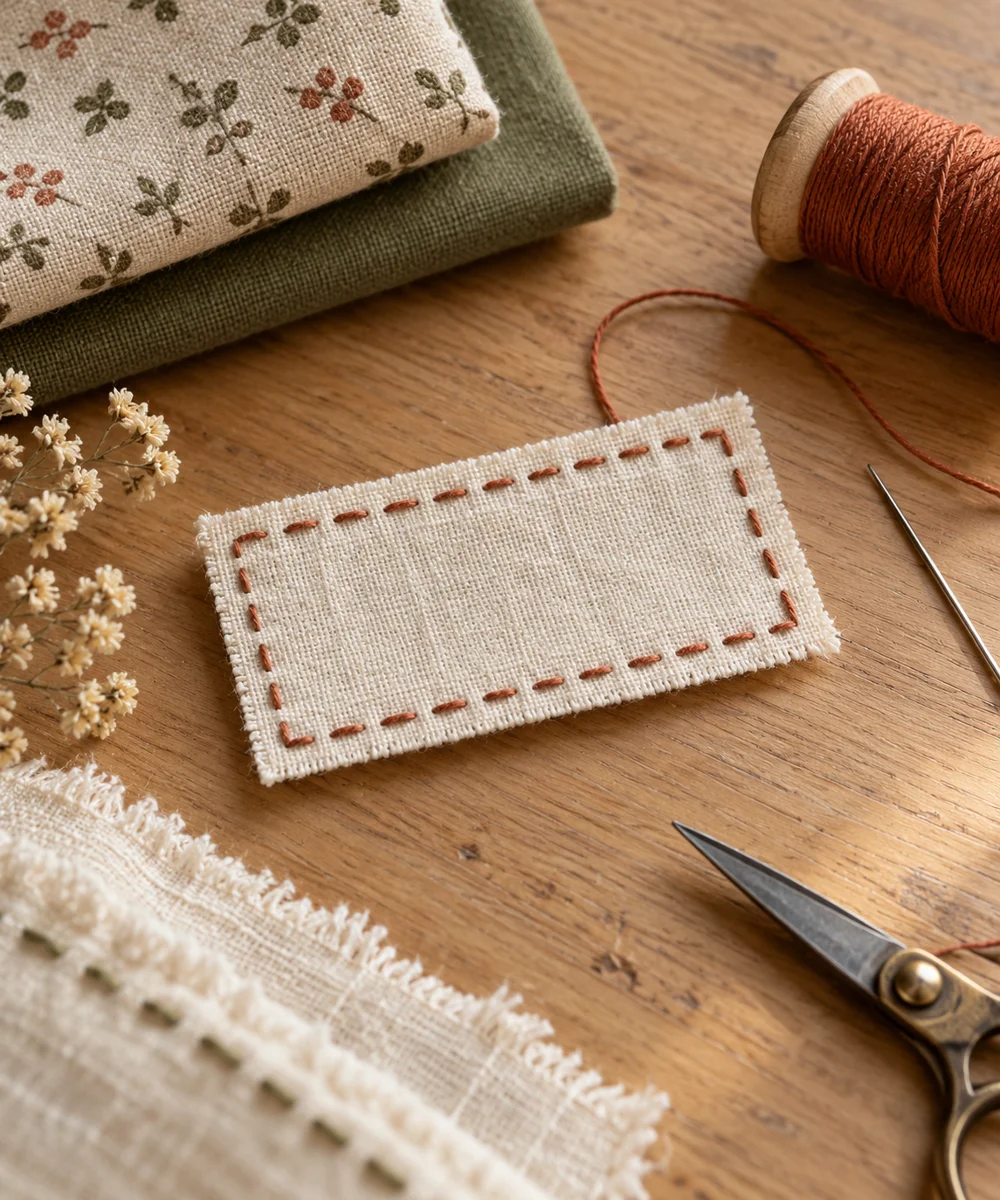
WHAT TO GATHER
Your starting kit.
- Small stable fabric rectangle
- Needle
- Contrasting thread
- Removable marker
STEP 01
Prepare the starting piece
Cut a small fabric rectangle and fold its raw edges inward. Keep the panel large enough to hold comfortable stitches without fraying at the margins.
STEP 02
Set out the shape
Mark a narrow border or a few short parallel lines with a tested removable marker. Avoid details too small for the fabric and thread.
STEP 03
Work the first section
Sew the decorative running stitches while the label is separate from the item. Keep the thread relaxed so the small rectangle stays flat.
STEP 04
Build and adjust
Position the label on an ordinary fabric surface and attach around its folded edge. Check the back so no unwanted layers are caught.
STEP 05
Finish and check
Secure all thread ends and remove markings as directed. Let the label dry before storing or using the item.
Before you begin.
What should I check before beginning?
Cut a small fabric rectangle and fold its raw edges inward. Keep the panel large enough to hold comfortable stitches without fraying at the margins.
What is the main practical tip for this project?
Keep any label flat on items that contact book pages or delicate surfaces; raised knots can catch.
Original editorial project guidance. Images are AI-generated concepts, not photographs of tested finished projects. Practice on inexpensive materials and follow tool and material instructions. Sources & approach.
Save to Pinterest ↗KEEP THE THREAD GOING


