A USEFUL HANDMADE PROJECT
Make a Split Stitch Geometric Outline
Split stitch builds a connected outline by bringing the needle through the thread of the preceding stitch.
Start with your materials ↓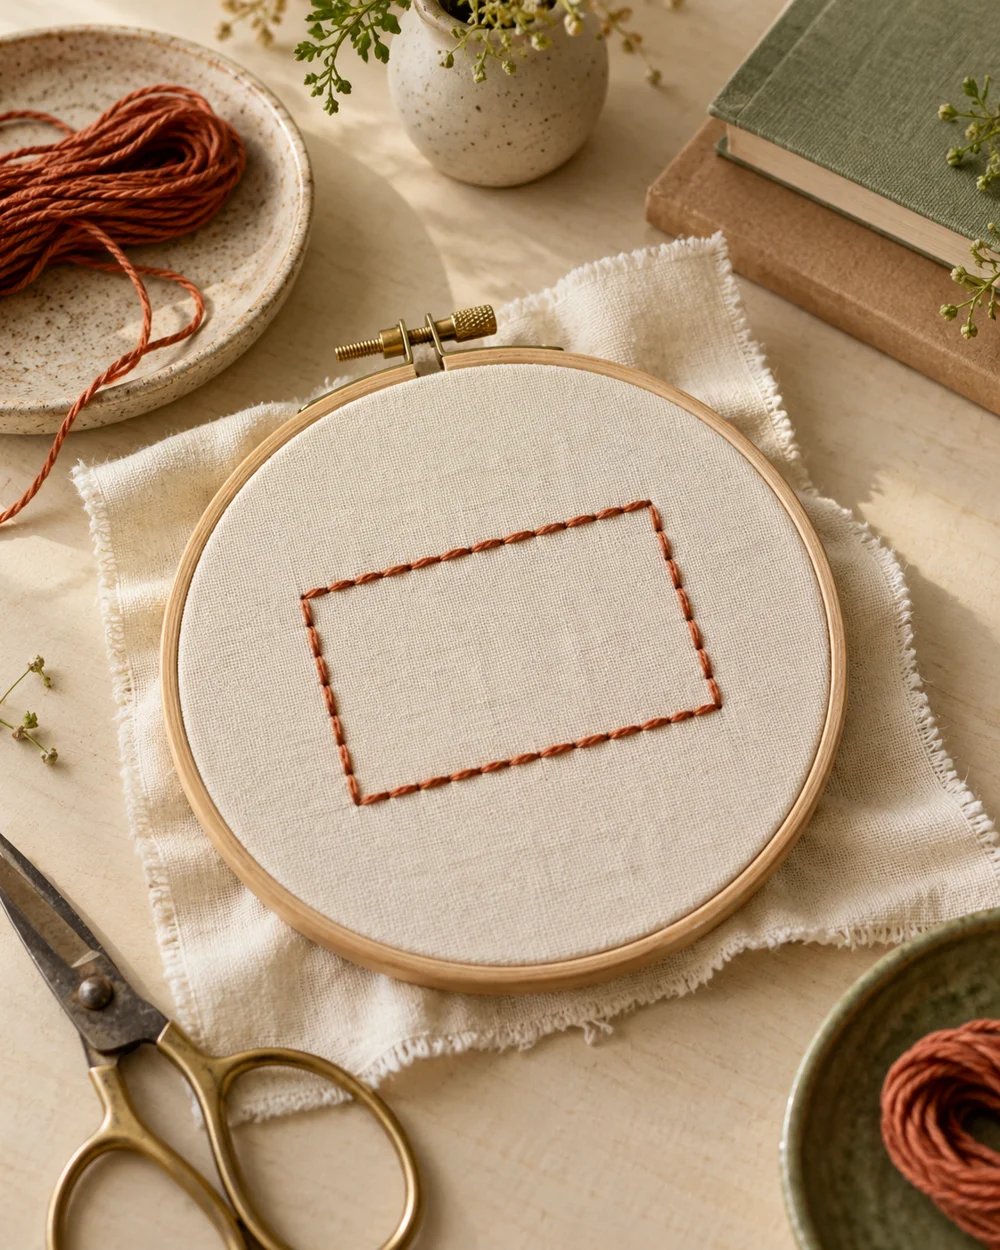
WHAT TO GATHER
Your starting kit.
- A small practice piece of cotton, evenweave, or canvas as specified below
- Embroidery floss or suitable yarn in one or two colors
- An embroidery needle for piercing fabric and a blunt tapestry needle for surface weaving
- Scissors and an optional embroidery hoop
- A removable fabric marker tested first on a scrap
STEP 01
Measure and prepare
Draw a simple rectangle with sides at least 40 mm long.
STEP 02
Lay out the construction
Bring the needle up a short distance behind the end of the previous stitch, splitting that stitch through its center as you emerge.
STEP 03
Join and shape
Continue in short lengths around the outline, taking a small turning stitch at each corner instead of pulling diagonally.
STEP 04
Check the result
Use an even number of floss strands for a clear starting practice line. Lay the sample flat and look for puckering or stitches that lift far from the surface. Ease the working thread before securing it if the fabric gathers. Compare the first few repeats with the last ones and note which spacing was easiest to maintain.
STEP 05
Finish and keep
Secure thread ends on the reverse and remove temporary guides according to the marker instructions. Store needles separately and keep a short note of the fabric, thread, and strand count with the sample. If you rinse the cloth, first check every material care instruction.
Before you begin.
Should I use a hoop?
A hoop can help hold ordinary cotton flat, but open canvas may need a different support. Keep fabric relaxed rather than stretched out of shape and use the fabric type specified in the first step.
What should I check before beginning?
Use an even number of floss strands for a clear starting practice line.
Original editorial project guidance. Images are AI-generated concepts, not photographs of tested finished projects. Practice on inexpensive materials and follow tool and material instructions. Sources & approach.
Save to Pinterest ↗KEEP THE THREAD GOING


