A PRACTICAL HANDMADE PROJECT
Make a Straight-Stitch Geometric Sampler
Straight stitches can form a small geometric sampler without complex motifs. Begin with a simple grid and work slowly enough to keep the fabric flat.
Start with your materials ↓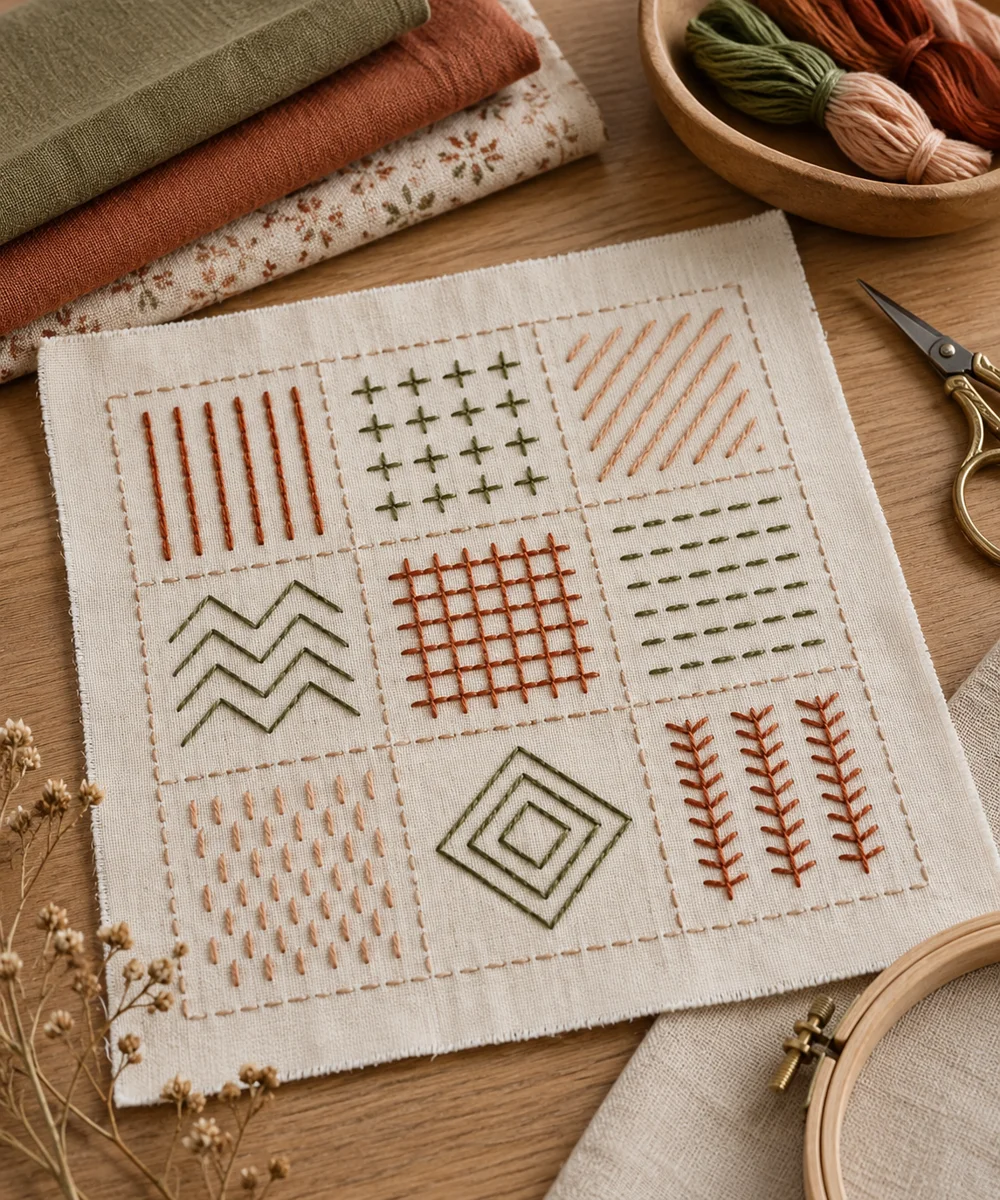
WHAT TO GATHER
Your starting kit.
- Woven fabric scrap
- Hoop if useful
- Needle
- Embroidery thread
- Removable marker
STEP 01
Prepare the starting piece
Draw a few short parallel lines and a small square on scrap fabric. Test the marker and support the fabric without stretching it out of shape.
STEP 02
Set out the shape
Bring the needle up at one end of a line and down at the other. Leave the thread lying on the surface rather than pulling it tight.
STEP 03
Work the first section
Repeat with nearby lines, checking their direction and length. Keep the thread paths on the back short so they do not snag easily.
STEP 04
Build and adjust
Fill the square with a few separate straight stitches in a geometric arrangement. Avoid long unsupported stitches that can catch during handling.
STEP 05
Finish and check
Secure the thread on the back and remove temporary markings as directed. Let the sampler dry completely before storing.
Before you begin.
What should I check before beginning?
Draw a few short parallel lines and a small square on scrap fabric. Test the marker and support the fabric without stretching it out of shape.
What is the main practical tip for this project?
A shorter stitch is often easier to control and less likely to snag than a long decorative span.
Original editorial project guidance. Images are AI-generated concepts, not photographs of tested finished projects. Practice on inexpensive materials and follow tool and material instructions. Sources & approach.
Save to Pinterest ↗KEEP THE THREAD GOING


