A PRACTICAL HANDMADE PROJECT
Make a Turned-Edge Fabric Patch
A turned-edge patch encloses its raw margins for a neat visible repair. Choose a patch that extends beyond the damaged area into sound fabric.
Start with your materials ↓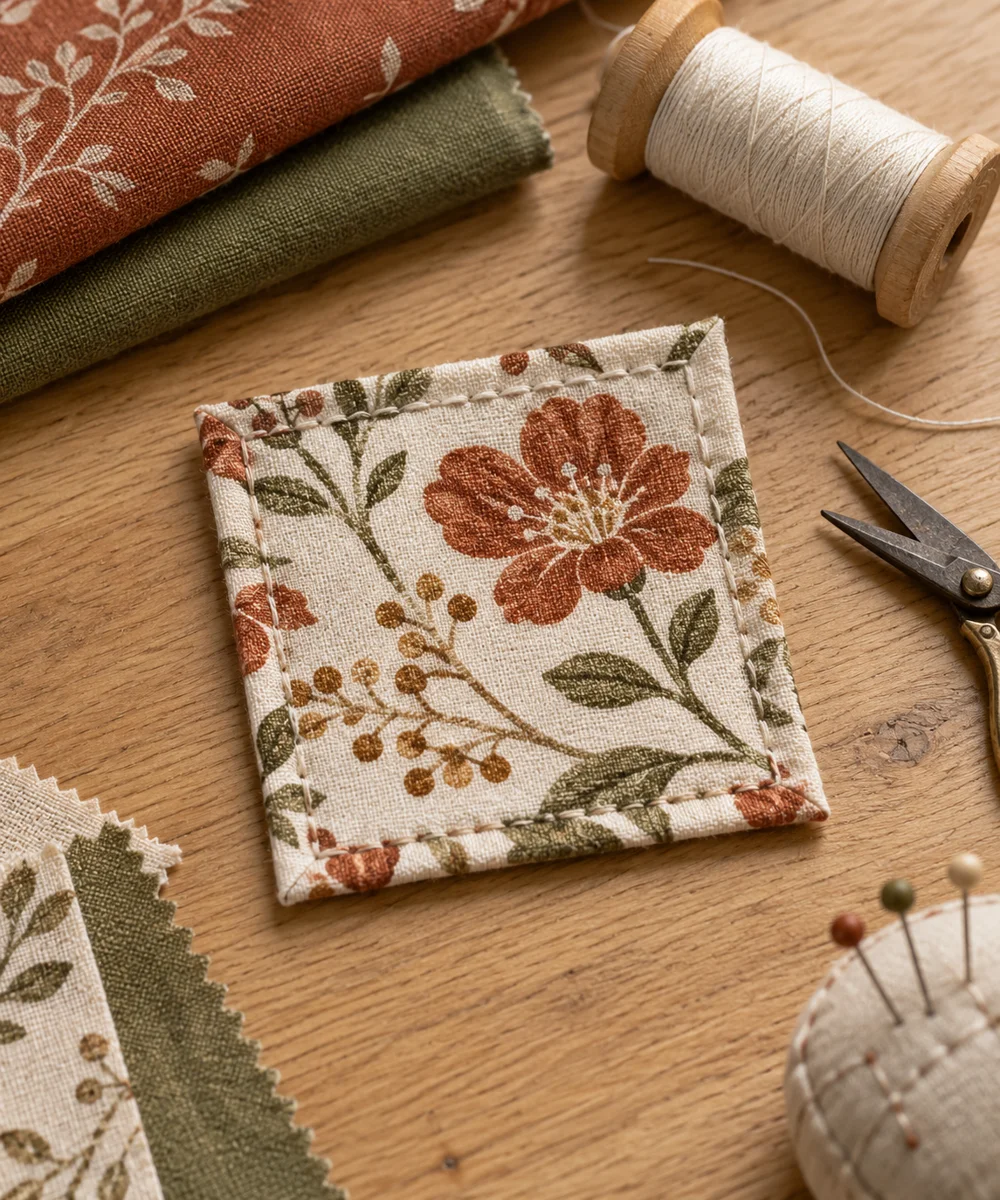
WHAT TO GATHER
Your starting kit.
- Woven patch fabric
- Ordinary woven item
- Needle
- Sewing thread
- Ruler
STEP 01
Prepare the starting piece
Inspect the damage and cut a patch large enough to overlap healthy cloth on every side. Use fabric with a similar ordinary care requirement.
STEP 02
Set out the shape
Fold each patch edge to the back and turn the corners neatly. Test its position over the damage without stretching the item underneath.
STEP 03
Work the first section
Secure the patch temporarily with visible clips or pins. Keep the underlying layers accessible so you do not accidentally sew a pocket closed.
STEP 04
Build and adjust
Sew small even stitches around the folded edge into sound fabric. Work carefully around corners and remove pins before the needle reaches them.
STEP 05
Finish and check
Secure the thread and inspect both sides for caught layers or loose edges. Follow appropriate care instructions and check the repair after use.
Before you begin.
What should I check before beginning?
Inspect the damage and cut a patch large enough to overlap healthy cloth on every side. Use fabric with a similar ordinary care requirement.
What is the main practical tip for this project?
A patch will not hold well when the surrounding fabric is too thin to support the stitches.
Original editorial project guidance. Images are AI-generated concepts, not photographs of tested finished projects. Practice on inexpensive materials and follow tool and material instructions. Sources & approach.
Save to Pinterest ↗KEEP THE THREAD GOING


