A PRACTICAL HANDMADE PROJECT
Practice Chain Stitch in a Simple Line
Chain stitch makes linked loops along a guide. A short straight line is the easiest place to learn how each loop holds the next.
Start with your materials ↓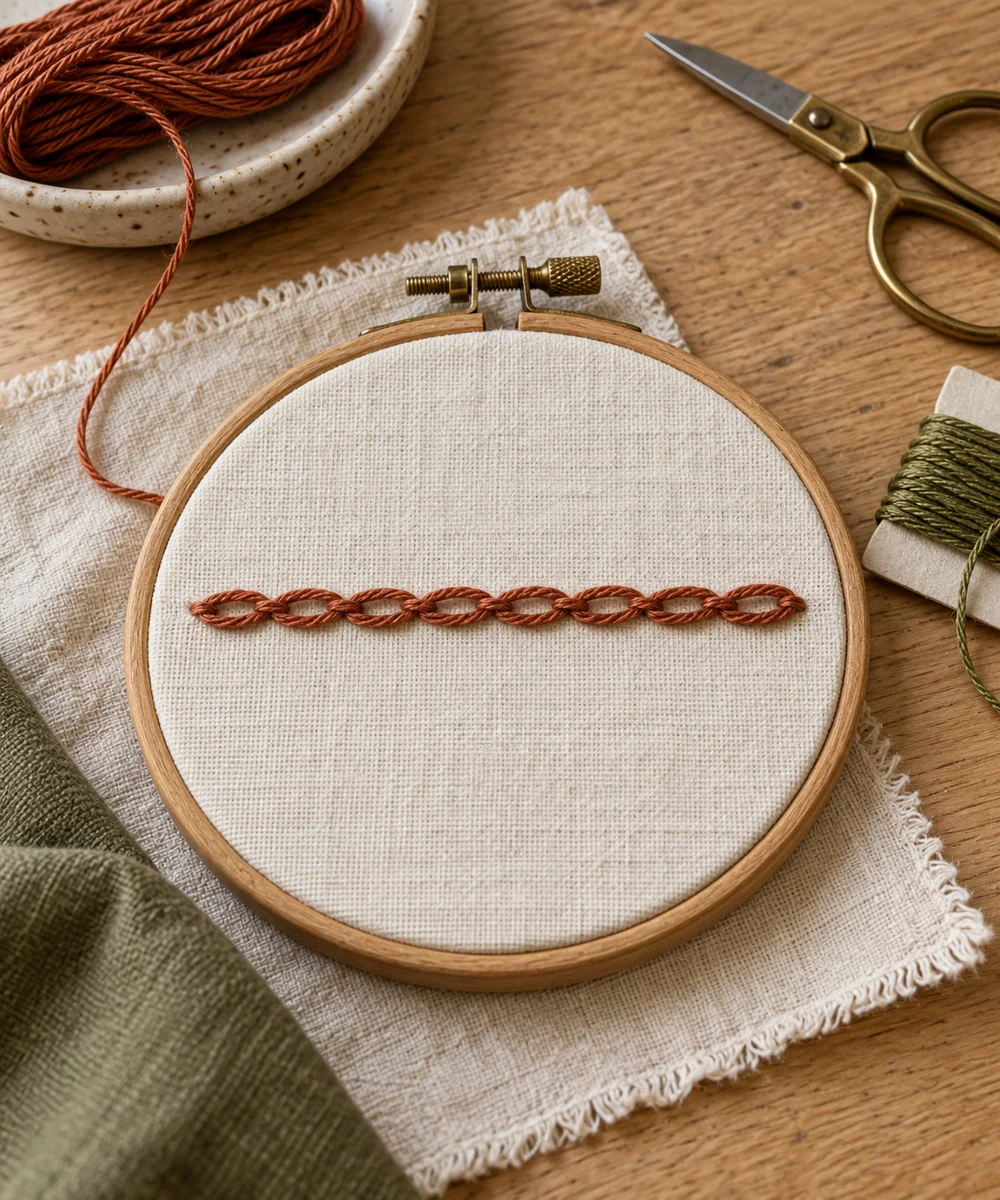
WHAT TO GATHER
Your starting kit.
- Fabric scrap
- Needle
- Embroidery cotton
- Removable marker
STEP 01
Prepare the starting piece
Draw a short line on stable fabric and secure the thread at its start. Use a manageable thread length to reduce twisting and knots.
STEP 02
Set out the shape
Bring the needle up, then insert it close to the same starting hole. Leave a loose loop of working thread on the surface.
STEP 03
Work the first section
Bring the needle up a short distance ahead inside that loop. Pull gently until the loop settles around the needle exit point.
STEP 04
Build and adjust
Insert the needle close to that exit point to begin the next loop. Repeat, keeping each loop similar in length and not overly tight.
STEP 05
Finish and check
At the end, make a tiny holding stitch just beyond the final loop. Secure the thread on the back and inspect the line flat.
Before you begin.
What should I check before beginning?
Draw a short line on stable fabric and secure the thread at its start. Use a manageable thread length to reduce twisting and knots.
What is the main practical tip for this project?
If loops collapse into narrow lines, reduce tension and slow down before changing the thread.
Original editorial project guidance. Images are AI-generated concepts, not photographs of tested finished projects. Practice on inexpensive materials and follow tool and material instructions. Sources & approach.
Save to Pinterest ↗KEEP THE THREAD GOING


