A PRACTICAL HANDMADE PROJECT
Practice Gathering Fabric by Hand
Hand gathering shortens a fabric edge into soft folds. A practice strip helps you see how stitch length and fabric weight affect the result.
Start with your materials ↓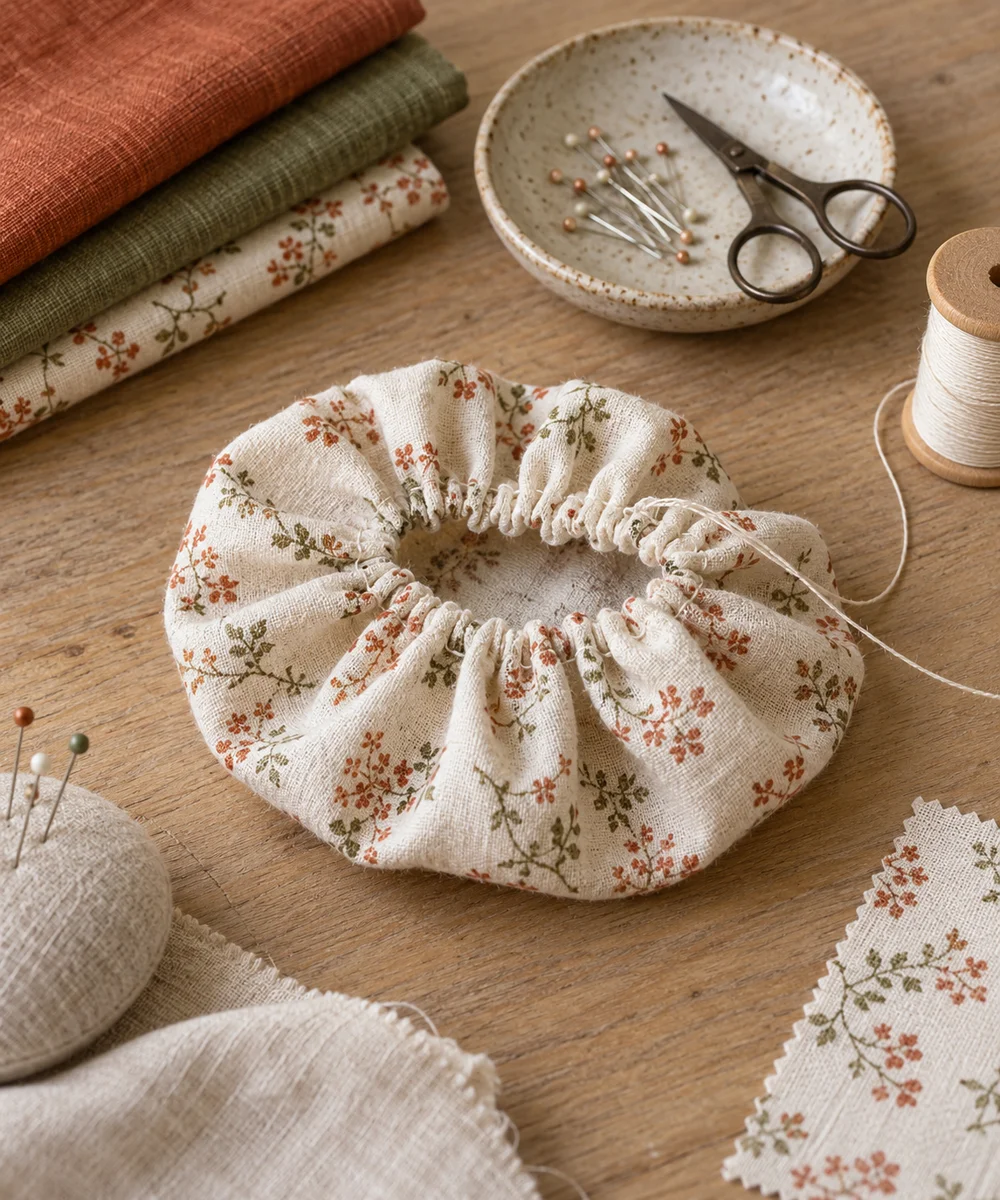
WHAT TO GATHER
Your starting kit.
- Woven fabric strip
- Needle
- Sewing thread
- Ruler
STEP 01
Prepare the starting piece
Cut a stable woven strip and mark two parallel stitch lines near one long edge. Keep enough margin outside the lines for the fabric to remain sound.
STEP 02
Set out the shape
Sew a row of evenly spaced running stitches along the first line. Leave long thread tails at both ends without securing them tightly.
STEP 03
Work the first section
Sew the second row beside it with similar stitch spacing. Keep the fabric flat while working and avoid piercing the first row of thread.
STEP 04
Build and adjust
Hold the thread tails at one end and slide the fabric gently toward them. Distribute the gathers across the strip instead of bunching one spot.
STEP 05
Finish and check
Tie the tails when the sample reaches your intended length. Inspect the result before attaching gathered fabric to any finished project.
Before you begin.
What should I check before beginning?
Cut a stable woven strip and mark two parallel stitch lines near one long edge. Keep enough margin outside the lines for the fabric to remain sound.
What is the main practical tip for this project?
Pull slowly; forcing the fabric can break the thread or create uneven tightly packed folds.
Original editorial project guidance. Images are AI-generated concepts, not photographs of tested finished projects. Practice on inexpensive materials and follow tool and material instructions. Sources & approach.
Save to Pinterest ↗KEEP THE THREAD GOING


