A PRACTICAL HANDMADE PROJECT
Practice Ladder Stitch on a Small Opening
Ladder stitch can close a small turned opening with a discreet seam. Start with a flat practice piece so both folded edges remain visible.
Start with your materials ↓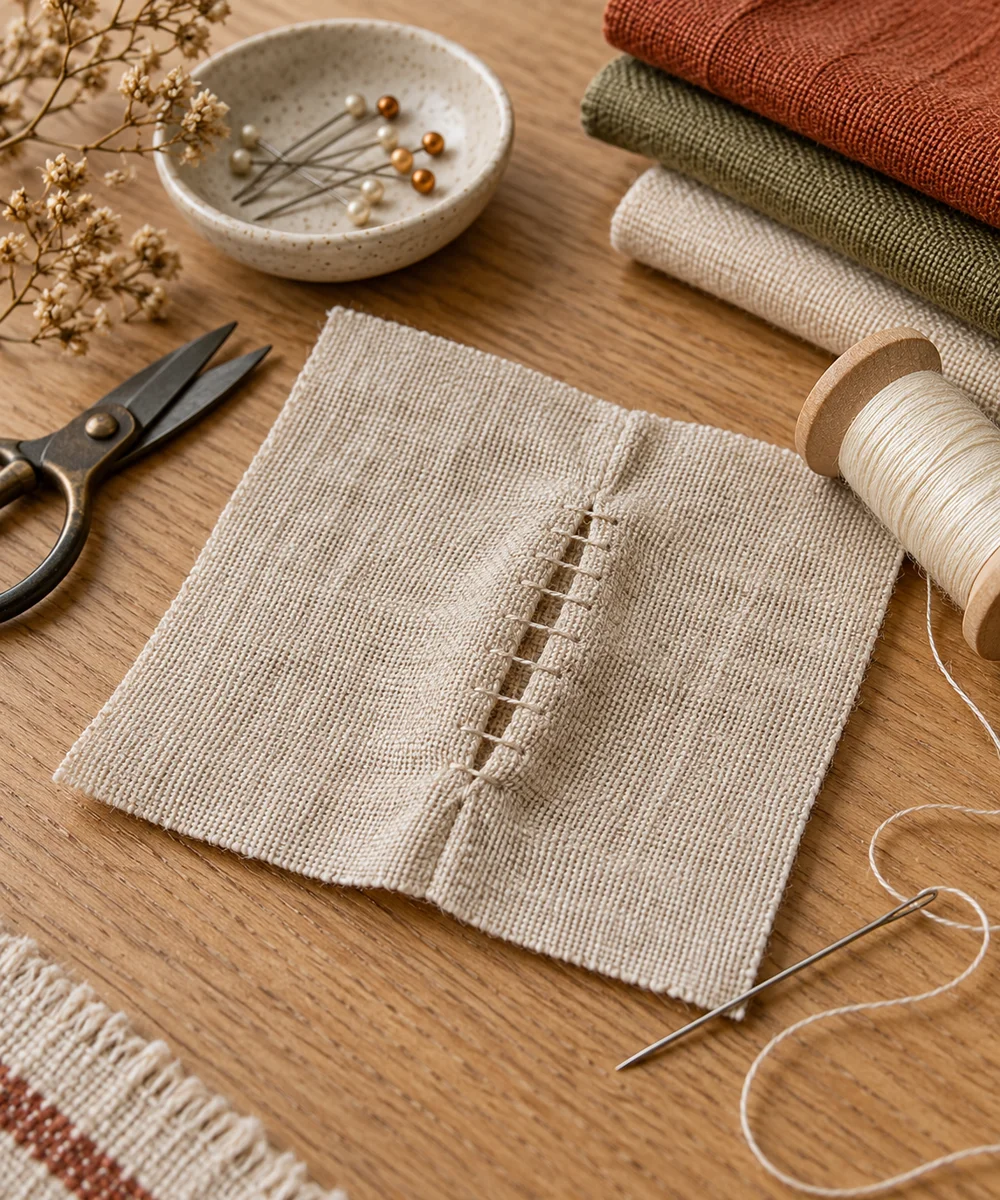
WHAT TO GATHER
Your starting kit.
- Two folded fabric edges
- Needle
- Sewing thread
STEP 01
Prepare the starting piece
Fold two fabric margins inward and place them side by side. Use finger pressing to make matching folds and align their ends.
STEP 02
Set out the shape
Hide the starting knot inside one fold. Bring the needle out along the crease without catching the outer face unnecessarily.
STEP 03
Work the first section
Take a small horizontal bite inside the opposite fold. Cross back and take an equal bite inside the first fold, directly across from it.
STEP 04
Build and adjust
Continue alternating to form a loose ladder between the folds. After several stitches, draw the thread gently until the edges meet without gathering.
STEP 05
Finish and check
Finish with a secure small stitch hidden inside the fold. Check the seam lies flat and practice again before closing a finished project.
Before you begin.
What should I check before beginning?
Fold two fabric margins inward and place them side by side. Use finger pressing to make matching folds and align their ends.
What is the main practical tip for this project?
Ladder stitch is not a substitute for a strong structural seam or a repair to protective equipment.
Original editorial project guidance. Images are AI-generated concepts, not photographs of tested finished projects. Practice on inexpensive materials and follow tool and material instructions. Sources & approach.
Save to Pinterest ↗KEEP THE THREAD GOING


