A PRACTICAL HANDMADE PROJECT
Practice Overcasting a Raw Fabric Edge
Overcasting can slow fraying on an ordinary raw edge. It is a simple practice finish rather than a guarantee that every fabric will resist wear.
Start with your materials ↓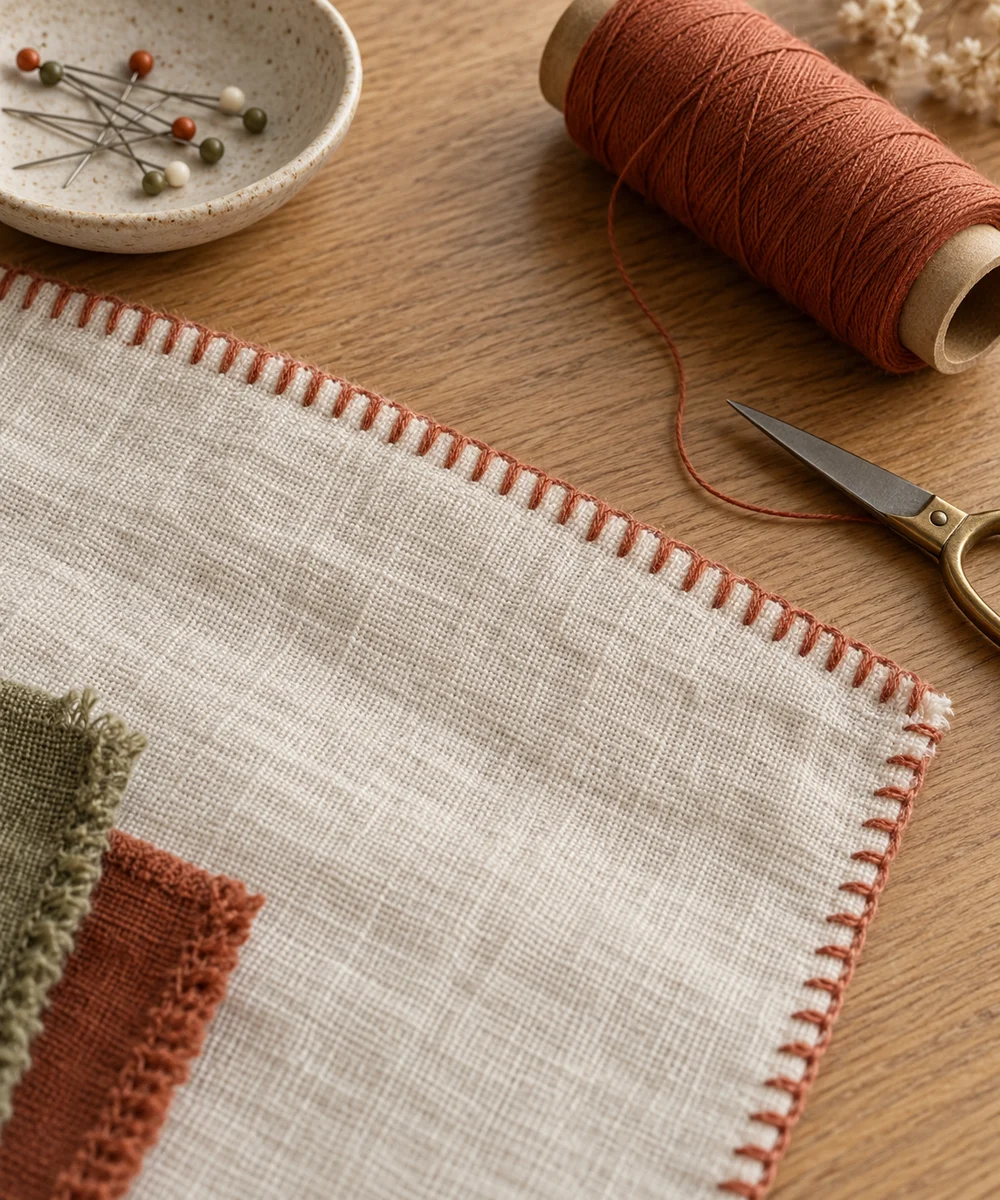
WHAT TO GATHER
Your starting kit.
- Woven fabric scrap
- Needle
- Sewing thread
STEP 01
Prepare the starting piece
Choose a small woven scrap and trim only stray loose threads. Keep the edge reasonably straight without cutting away too much sound fabric.
STEP 02
Set out the shape
Secure the thread near one end and bring the needle through just inside the raw edge. Leave a comfortable margin so the stitch does not tear out.
STEP 03
Work the first section
Pass the needle around the edge and through again a short distance forward. Keep the wraps spaced consistently along the fabric.
STEP 04
Build and adjust
Continue without pulling tightly enough to roll the edge into a cord. Adjust the distance from the edge if loose fibers escape around the stitches.
STEP 05
Finish and check
Secure the last stitch on the back and examine the sample after gentle handling. Choose another finish if the material continues fraying heavily.
Before you begin.
What should I check before beginning?
Choose a small woven scrap and trim only stray loose threads. Keep the edge reasonably straight without cutting away too much sound fabric.
What is the main practical tip for this project?
A double folded hem usually encloses a raw edge more fully when the project allows the extra width.
Original editorial project guidance. Images are AI-generated concepts, not photographs of tested finished projects. Practice on inexpensive materials and follow tool and material instructions. Sources & approach.
Save to Pinterest ↗KEEP THE THREAD GOING


