A PRACTICAL HANDMADE PROJECT
Repair a Small Open Side Seam
A short open seam in an ordinary woven item may be repaired by following its original seam line. Stop if the surrounding fabric is weak or badly torn.
Start with your materials ↓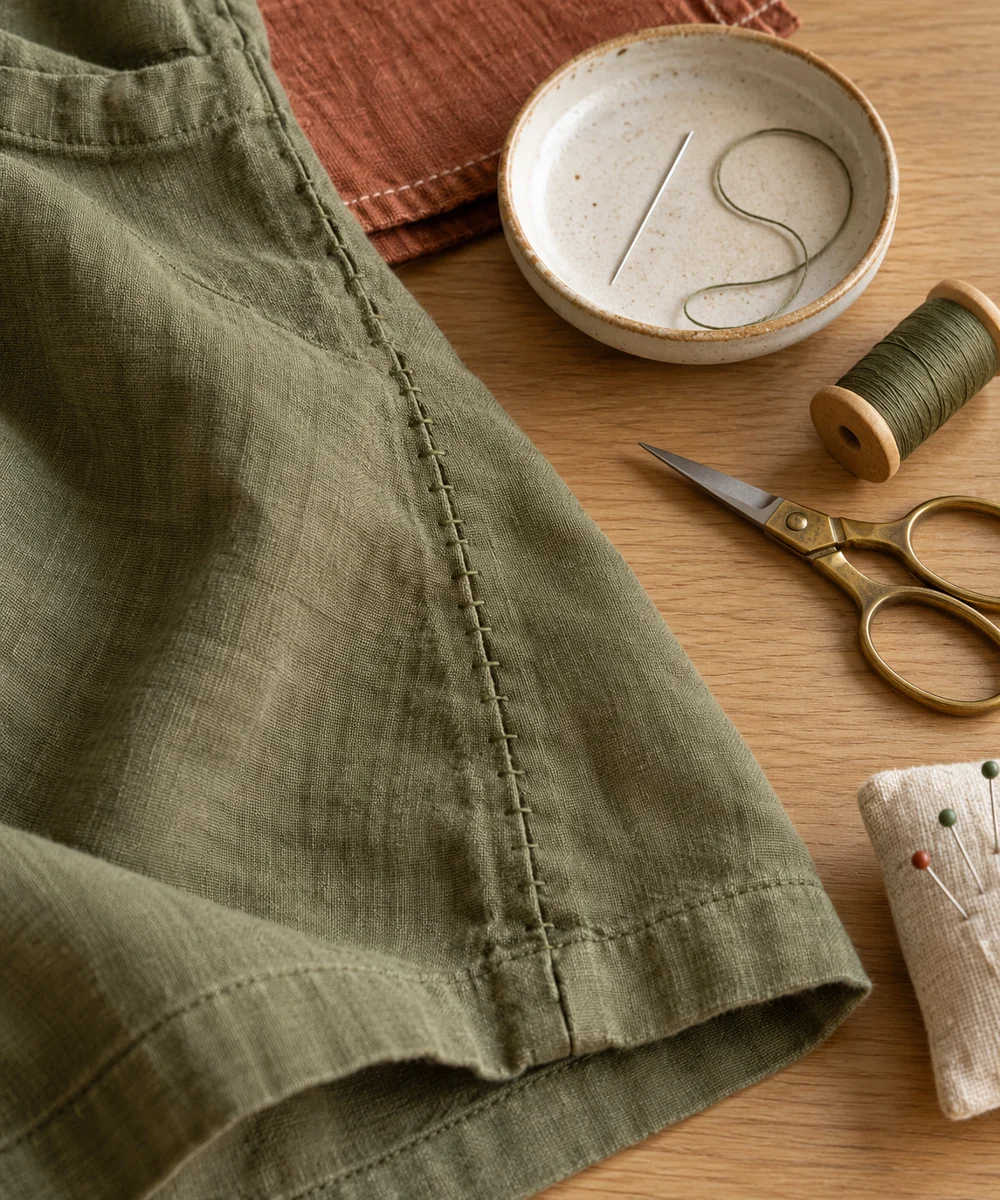
WHAT TO GATHER
Your starting kit.
- Ordinary woven garment or scrap seam
- Needle
- Matching thread
- Scissors
STEP 01
Prepare the starting piece
Inspect the opening and surrounding fabric in good light. Remove only loose broken thread ends, leaving intact stitching at both ends of the gap.
STEP 02
Set out the shape
Turn the item inside out if possible and align the original seam allowances. Mark the old stitching line lightly if it is difficult to follow.
STEP 03
Work the first section
Begin in sound stitching before the opening and secure the thread. Use small backstitches along the original line, catching both sound seam allowances.
STEP 04
Build and adjust
Continue beyond the gap into the intact seam and secure the end. Keep the stitch tension even so the repaired area does not pucker.
STEP 05
Finish and check
Turn the item right side out and inspect the join. Try gentle ordinary movement and seek a different repair if the cloth pulls apart around it.
Before you begin.
What should I check before beginning?
Inspect the opening and surrounding fabric in good light. Remove only loose broken thread ends, leaving intact stitching at both ends of the gap.
What is the main practical tip for this project?
This repair is for ordinary lightweight items, not protective clothing, harnesses, or other safety-critical equipment.
Original editorial project guidance. Images are AI-generated concepts, not photographs of tested finished projects. Practice on inexpensive materials and follow tool and material instructions. Sources & approach.
Save to Pinterest ↗KEEP THE THREAD GOING


