A PRACTICAL HANDMADE PROJECT
Secure a Loose Pocket Corner
A loose pocket corner needs sound surrounding cloth to support a small reinforcement. Inspect it carefully before adding stitches to an already weakened area.
Start with your materials ↓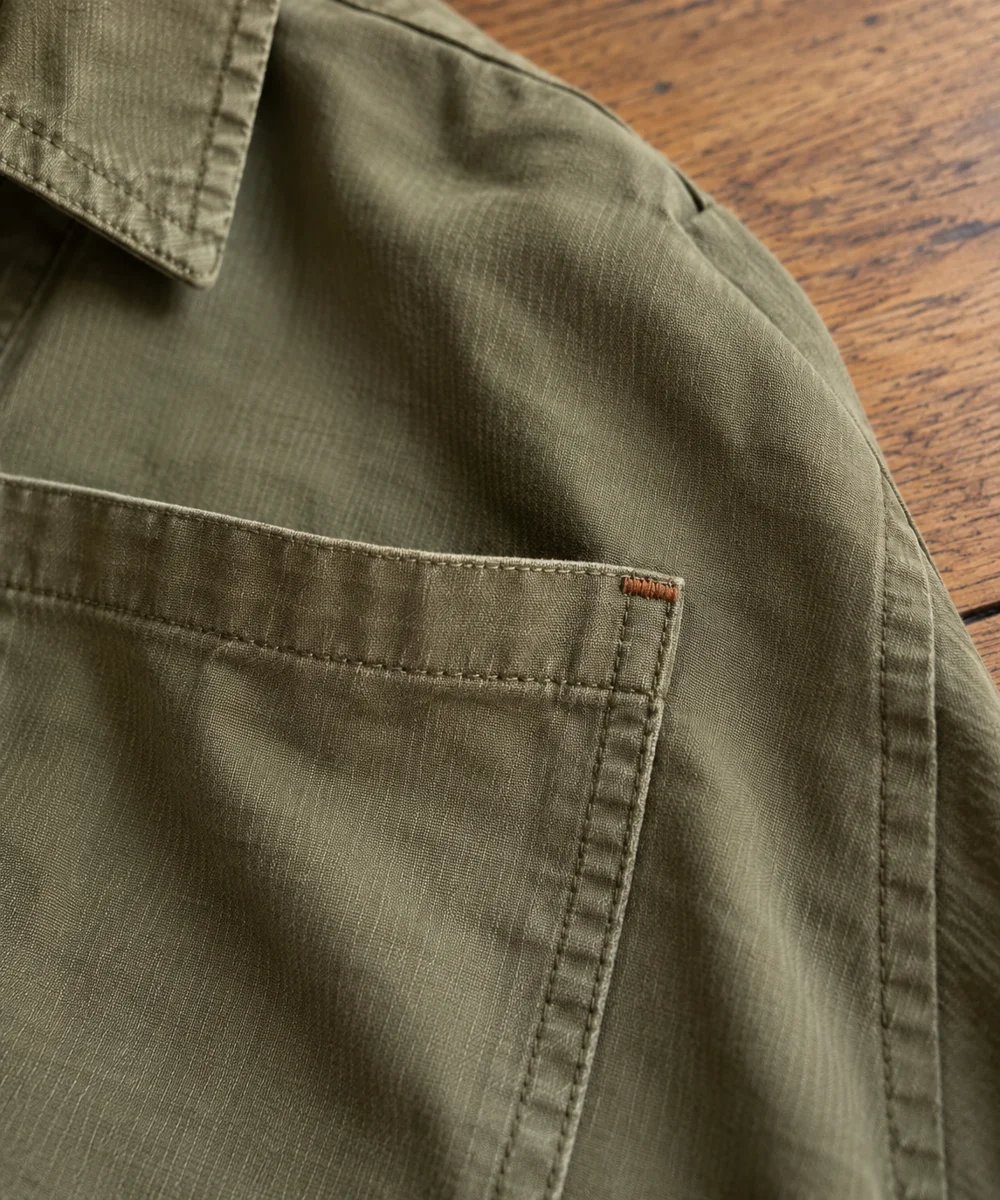
WHAT TO GATHER
Your starting kit.
- Ordinary pocketed garment
- Needle
- Matching sewing thread
STEP 01
Prepare the starting piece
Examine the pocket corner and remove loose broken thread ends. Stop if the garment fabric is torn widely or too thin to hold a new seam.
STEP 02
Set out the shape
Align the pocket edge with its original position. Keep the pocket opening accessible and place a hand behind the work to check the layers.
STEP 03
Work the first section
Secure the thread in sound cloth beside the corner. Make several short parallel stitches across the point where the pocket edge meets the garment.
STEP 04
Build and adjust
Add a few small backstitches along the adjacent seam to spread the attachment. Keep the tension even and avoid a hard bulky knot.
STEP 05
Finish and check
Secure the thread on the reverse and check that the pocket still opens. Use it only for ordinary light contents and inspect the repair after wear.
Before you begin.
What should I check before beginning?
Examine the pocket corner and remove loose broken thread ends. Stop if the garment fabric is torn widely or too thin to hold a new seam.
What is the main practical tip for this project?
A small hand reinforcement does not restore a heavily damaged pocket to its original strength.
Original editorial project guidance. Images are AI-generated concepts, not photographs of tested finished projects. Practice on inexpensive materials and follow tool and material instructions. Sources & approach.
Save to Pinterest ↗KEEP THE THREAD GOING


