A USEFUL HANDMADE PROJECT
Set Up a Books-to-Borrow Queue
A borrowing queue separates books of interest from requested and returned titles so the next request remains deliberate.
Start with your materials ↓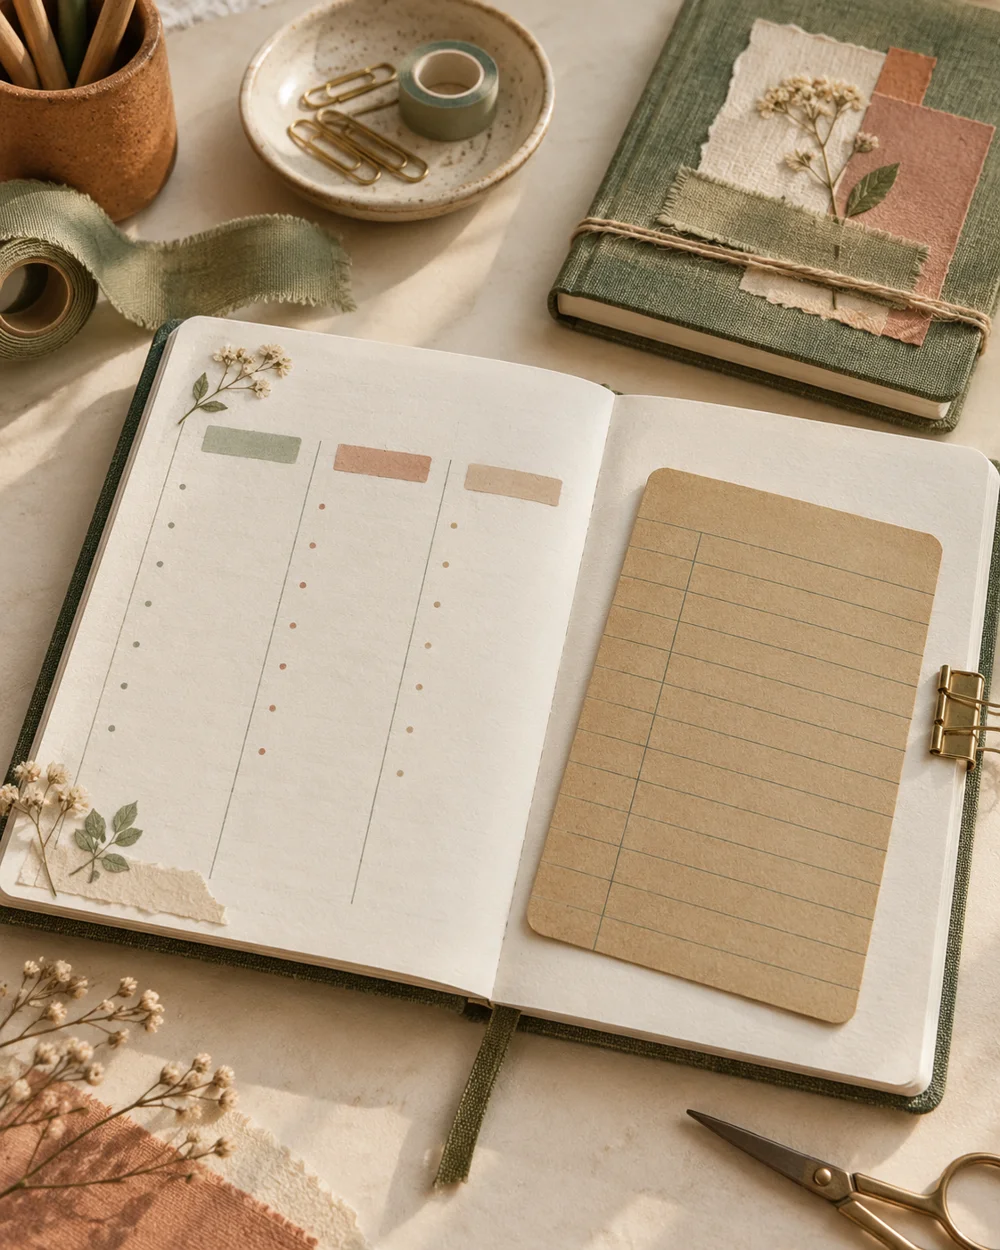
WHAT TO GATHER
Your starting kit.
- A notebook with enough blank space for the layout
- A pencil, ruler, and the pens you want to use
- Small material samples when the individual project calls for them
- Removable paper corners or suitable tape for attaching samples
STEP 01
Measure and prepare
Create three sections for interested, requested, and returned titles.
STEP 02
Lay out the construction
Give each title a short entry with author and format preference; use a pencil mark to move its status.
STEP 03
Join and shape
Check the list before making another request, then archive finished entries on a separate page.
STEP 04
Check the result
Keep account numbers and login details out of photographed or shared notebook pages. Try the layout with one real entry before drawing repeated pages. Check that you can find the date, source, and next action without reading every line. Widen cramped columns now, while the rest of the spread is still empty.
STEP 05
Finish and keep
Date the first entry and leave some unused space for corrections. Revisit the spread when you next use the related materials or complete the related task. Carry forward information that remains useful and cross out entries that no longer apply.
Before you begin.
Do I need to decorate the page?
No. A ruled layout and a few accurate entries are enough. Add color only if it makes the information easier to find; an elaborate border is optional.
What should I check before beginning?
Keep account numbers and login details out of photographed or shared notebook pages.
Original editorial project guidance. Images are AI-generated concepts, not photographs of tested finished projects. Practice on inexpensive materials and follow tool and material instructions. Sources & approach.
Save to Pinterest ↗KEEP THE THREAD GOING