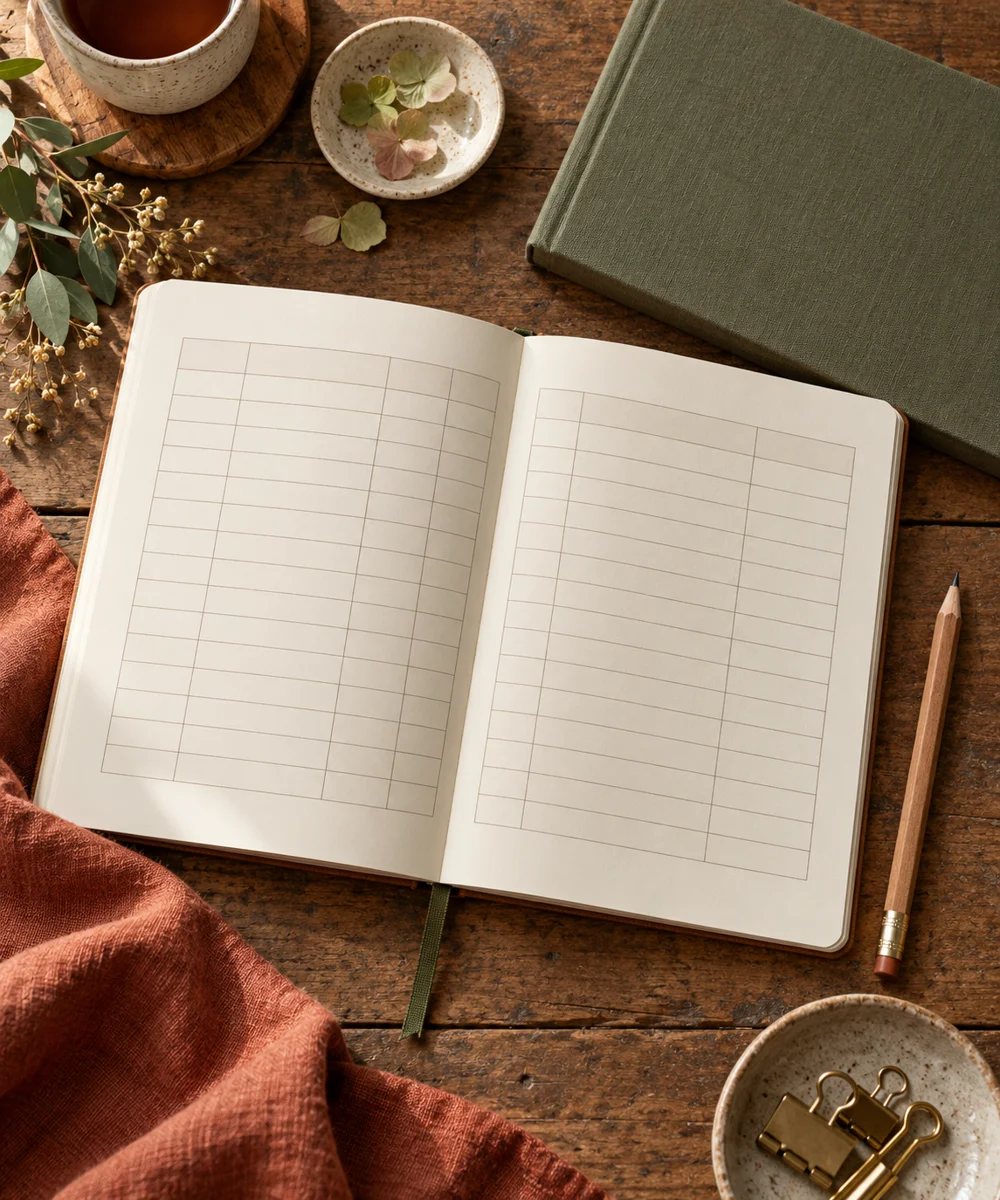
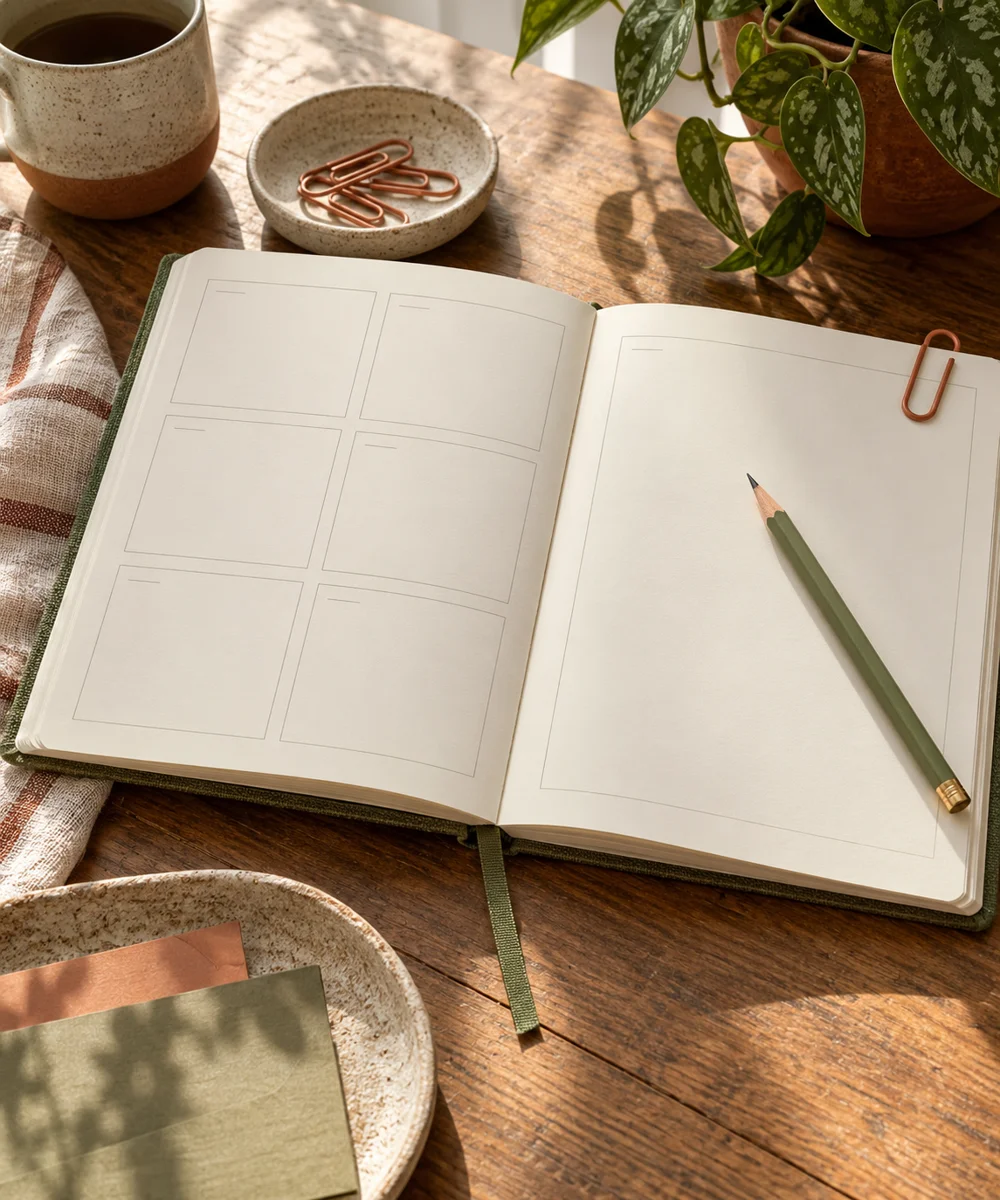
A PRACTICAL HANDMADE PROJECT
Set Up a Sewing Practice Log
A sewing practice log makes small improvements visible by recording the stitch settings and material you actually used. Keep the sample beside the note where possible.
Start with your materials ↓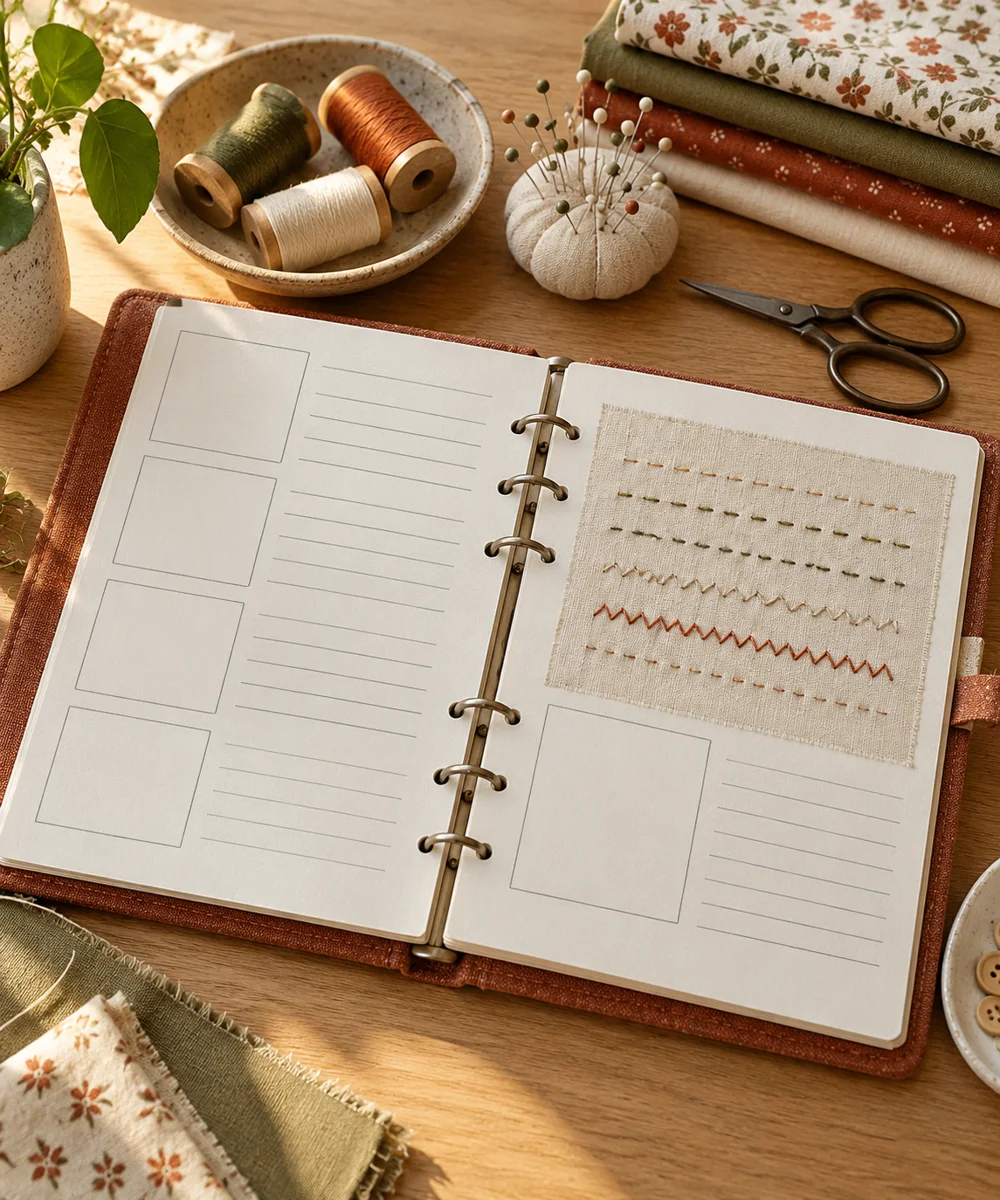
WHAT TO GATHER
Your starting kit.
- Notebook
- Pencil
- Practice fabric sample
- Ruler
STEP 01
Prepare the starting piece
Write the date, stitch name, needle type if known, and thread used. Describe the fabric without inventing a fiber composition.
STEP 02
Set out the shape
Draw or attach a small flat practice sample to the page. Use an envelope if mounting it directly would make the notebook bulky.
STEP 03
Work the first section
Record the approximate stitch length and thread tension as observations. Note puckering, loose loops, or difficulty passing the needle through the layers.
STEP 04
Build and adjust
Choose one change for the next sample, such as shorter thread or a different stitch spacing. Avoid changing every variable at once.
STEP 05
Finish and check
Compare the two samples and write what improved. Retain an unsuccessful sample when it explains a useful adjustment for next time.
Before you begin.
What should I check before beginning?
Write the date, stitch name, needle type if known, and thread used. Describe the fabric without inventing a fiber composition.
What is the main practical tip for this project?
A log records practice results; it does not replace instructions for a sewing machine or specialist protective equipment.
Original editorial project guidance. Images are AI-generated concepts, not photographs of tested finished projects. Practice on inexpensive materials and follow tool and material instructions. Sources & approach.
Save to Pinterest ↗KEEP THE THREAD GOING