A PRACTICAL HANDMADE PROJECT
Sew a Four-Hole Button on Scrap Fabric
A four-hole button can be sewn in parallel bars or a cross. Choose one consistent pattern and practice keeping the button level on the cloth.
Start with your materials ↓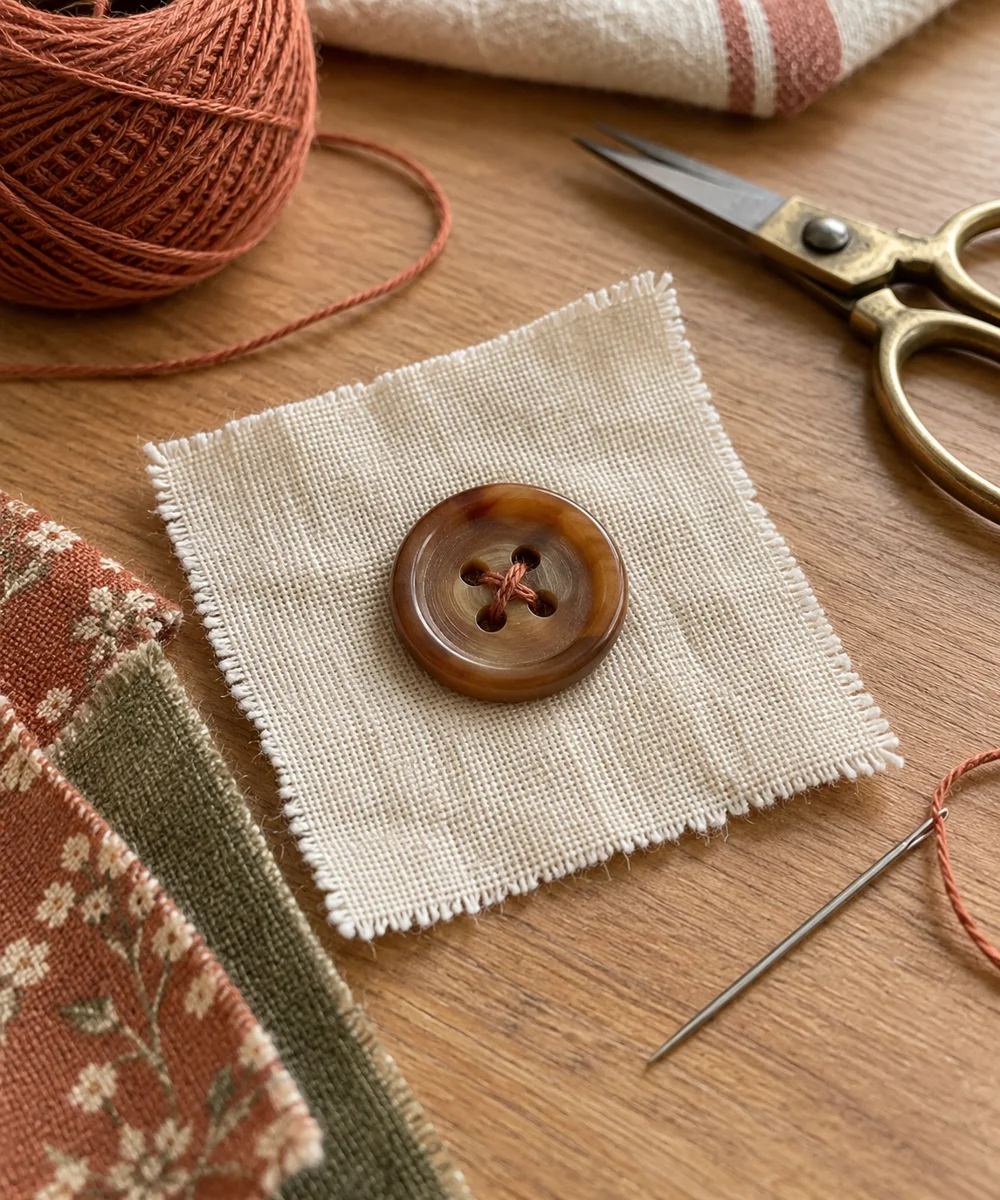
WHAT TO GATHER
Your starting kit.
- Fabric scrap
- Four-hole button
- Needle
- Sewing thread
STEP 01
Prepare the starting piece
Set the button on a stable scrap and mark the center. Check that your needle passes through all four holes comfortably.
STEP 02
Set out the shape
Secure the thread on the back and make several passes through the first pair of holes. Leave a little ease appropriate to the intended button use.
STEP 03
Work the first section
Move to the second pair and make a matching number of passes. Keep the button aligned while checking that no loose loops form underneath.
STEP 04
Build and adjust
Compare the two pairs and add only enough thread to make the attachment secure. Avoid building a bulky hard lump beneath the button.
STEP 05
Finish and check
Secure the thread on the back and trim it. Test gently on the scrap before replacing a button on an ordinary garment.
Before you begin.
What should I check before beginning?
Set the button on a stable scrap and mark the center. Check that your needle passes through all four holes comfortably.
What is the main practical tip for this project?
Match the original attachment style where practical and do not use this method for safety equipment or load-bearing fasteners.
Original editorial project guidance. Images are AI-generated concepts, not photographs of tested finished projects. Practice on inexpensive materials and follow tool and material instructions. Sources & approach.
Save to Pinterest ↗KEEP THE THREAD GOING


