A PRACTICAL HANDMADE PROJECT
Sew a Herringbone Stitch Practice Strip
Herringbone stitch crosses between two guide lines in a repeating pattern. It is useful practice for controlling diagonal stitches and keeping an even rhythm.
Start with your materials ↓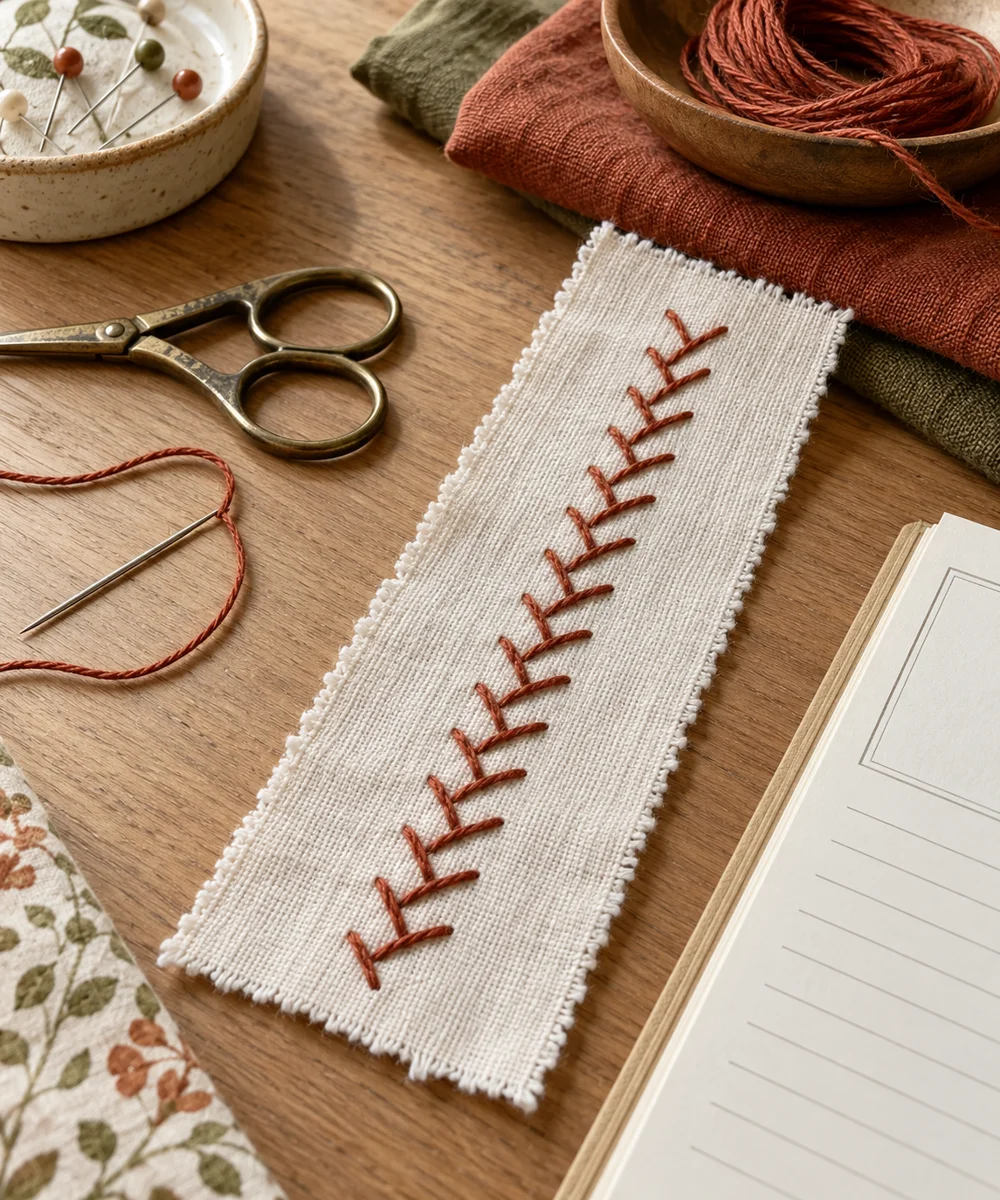
WHAT TO GATHER
Your starting kit.
- Fabric scrap
- Needle
- Thread
- Ruler
- Removable marker
STEP 01
Prepare the starting piece
Draw two parallel lines on a stable fabric scrap. Add a few spaced dots on each line, offset so the stitches can cross diagonally.
STEP 02
Set out the shape
Secure the thread and take a tiny horizontal bite on the upper line. Cross diagonally to the lower line for the next tiny bite.
STEP 03
Work the first section
Return diagonally to the upper line, moving forward while each small bite points back. Keep the working thread relaxed and the spacing consistent.
STEP 04
Build and adjust
Repeat between the lines, checking that the diagonal stitches cross similarly. Shorten the distance between lines if the thread catches or sags.
STEP 05
Finish and check
Secure the end on the back and inspect the sample flat. Compare the spacing before trying a decorative border on another scrap.
Before you begin.
What should I check before beginning?
Draw two parallel lines on a stable fabric scrap. Add a few spaced dots on each line, offset so the stitches can cross diagonally.
What is the main practical tip for this project?
This sampler is a learning exercise and does not establish whether a stitch suits a particular garment repair.
Original editorial project guidance. Images are AI-generated concepts, not photographs of tested finished projects. Practice on inexpensive materials and follow tool and material instructions. Sources & approach.
Save to Pinterest ↗KEEP THE THREAD GOING


