A PRACTICAL HANDMADE PROJECT
Sew a Two-Hole Button on Scrap Fabric
Sewing a two-hole button on scrap cloth is a useful repair skill to practice before working on a garment. Match the thread to an ordinary nonprotective item.
Start with your materials ↓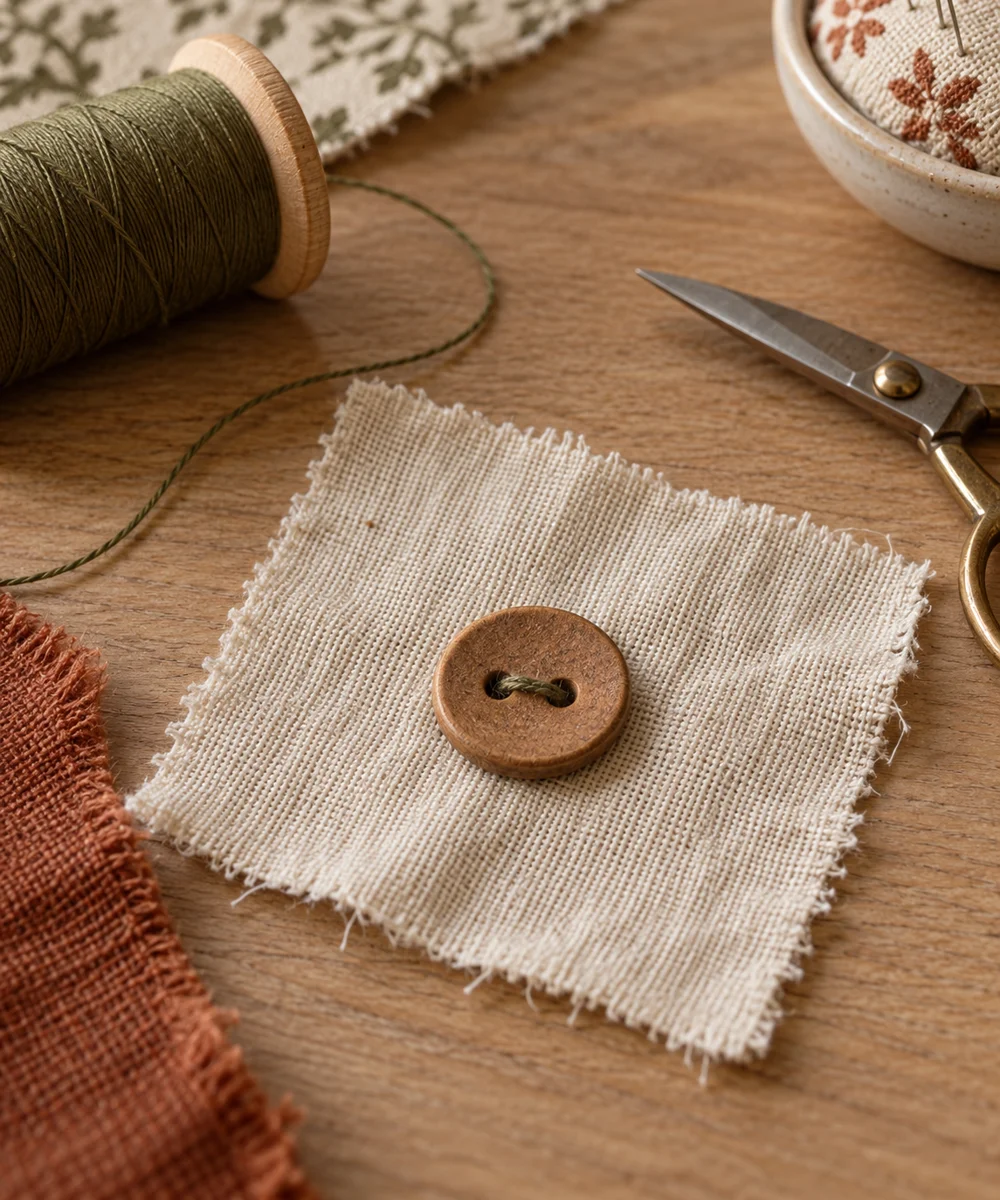
WHAT TO GATHER
Your starting kit.
- Fabric scrap
- Two-hole button
- Needle
- Sewing thread
STEP 01
Prepare the starting piece
Place a button on a stable fabric scrap and mark its position. Check that the needle fits easily through both holes without forcing it.
STEP 02
Set out the shape
Secure the thread on the back and bring the needle through one hole. Pass down through the other, leaving slight ease rather than crushing the cloth.
STEP 03
Work the first section
Repeat several passes between the two holes, following the same path. Keep the button centered and check the back for accidental loops.
STEP 04
Build and adjust
For a button that must pass through a buttonhole, leave suitable room beneath it; practice the fit rather than tightening it flat automatically.
STEP 05
Finish and check
Secure the thread on the back and trim the loose end. Tug gently to check the attachment without using it as a weight test.
Before you begin.
What should I check before beginning?
Place a button on a stable fabric scrap and mark its position. Check that the needle fits easily through both holes without forcing it.
What is the main practical tip for this project?
Keep loose buttons away from young children and pets, and store the needle securely after practice.
Original editorial project guidance. Images are AI-generated concepts, not photographs of tested finished projects. Practice on inexpensive materials and follow tool and material instructions. Sources & approach.
Save to Pinterest ↗KEEP THE THREAD GOING


